

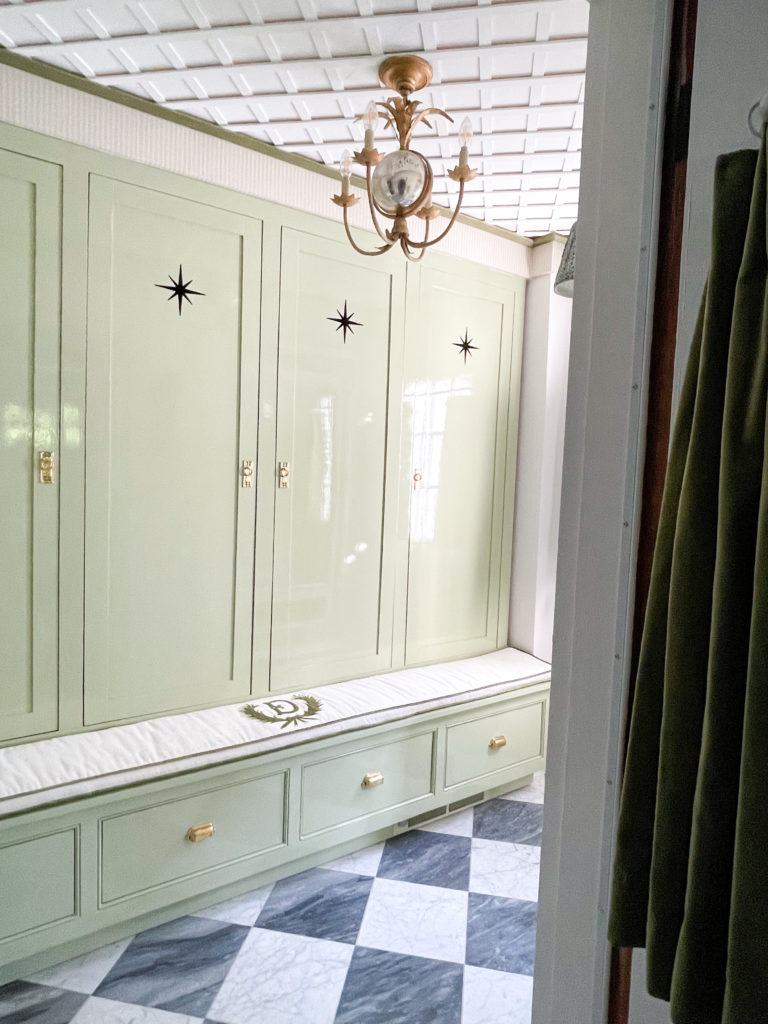
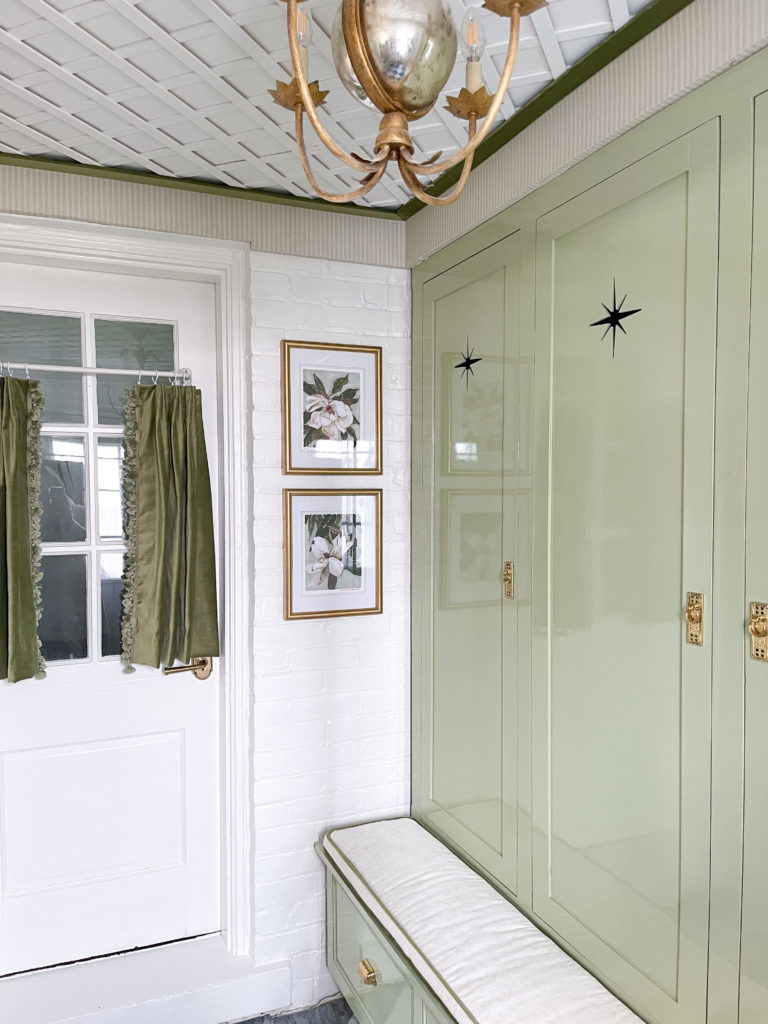
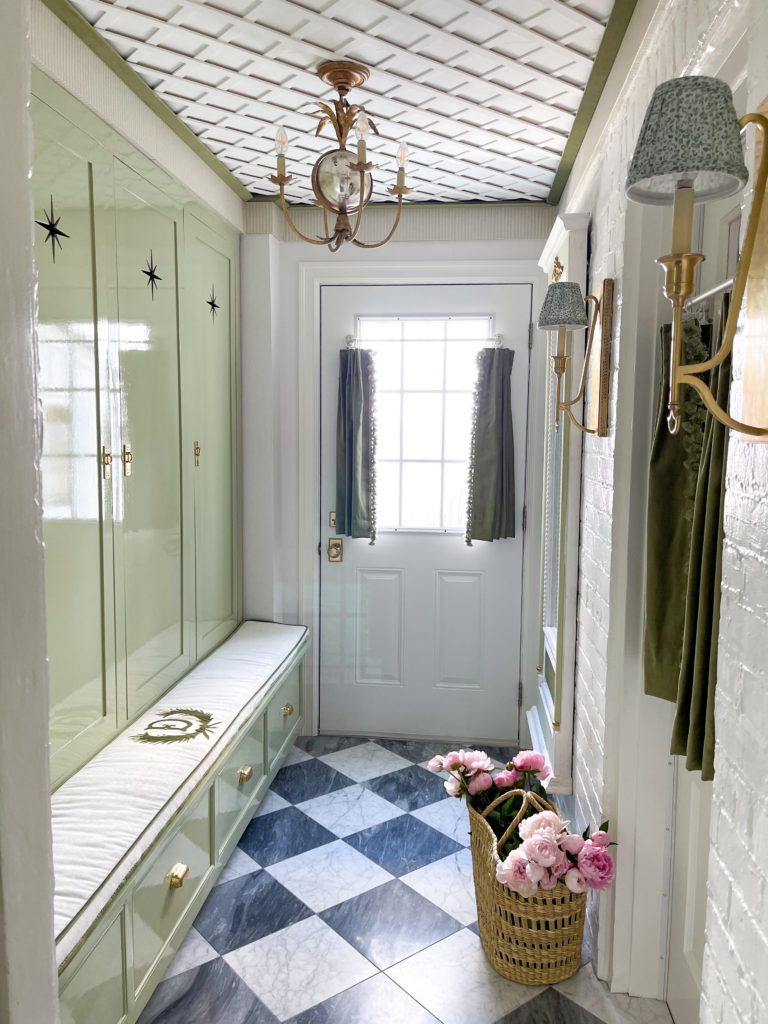
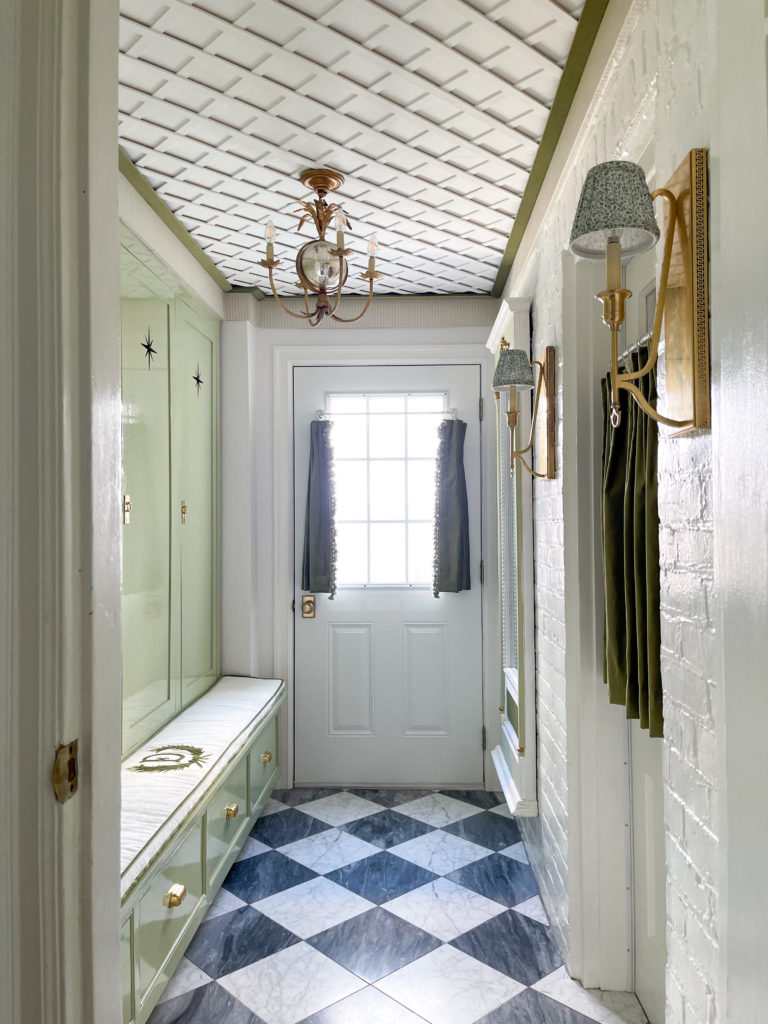
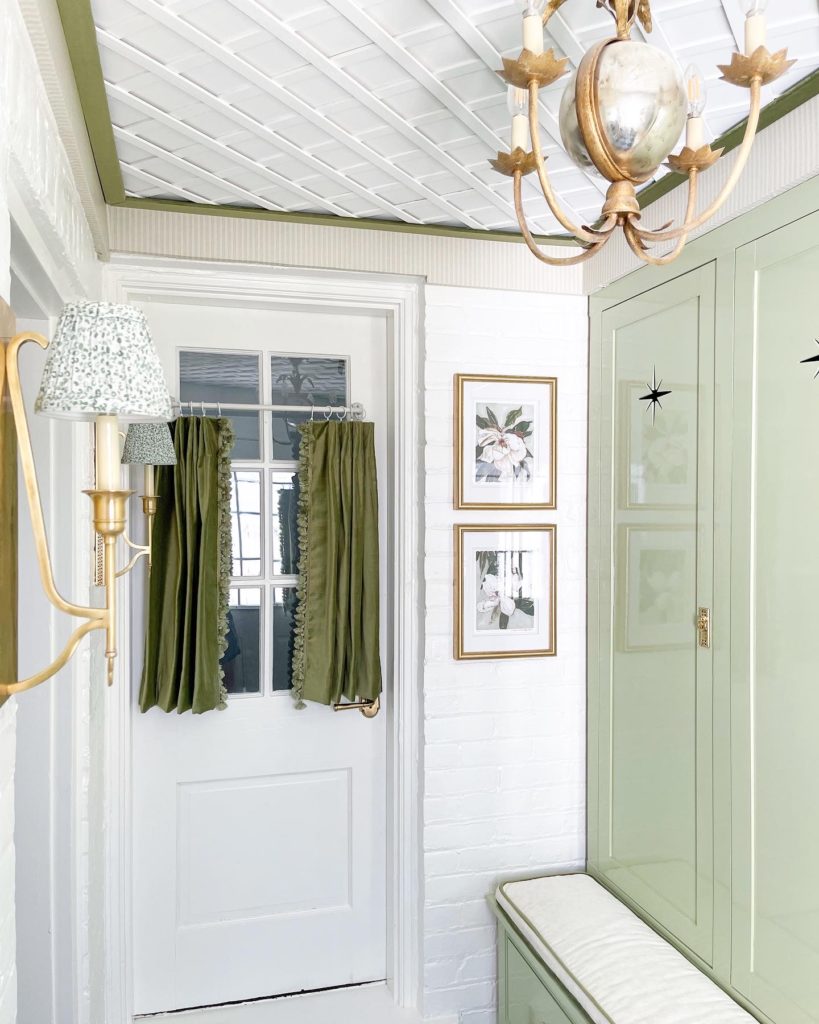
I have been waiting so long to install a lattice ceiling! The glam mudroom was the perfect place! Let me start with the reason that I chose to install a custom lattice instead of using ready-made lattice. The number one reason I went custom: premade only comes in 8ft sheets and my room is slightly larger. The second reason I went custom: I wanted more control with width of the boards and the spacing.
Now, let’s talk about the board I went with and how much I needed (and how much it cost). I bought several boards to test out my desired look. I wound up going with this one. It is 1/4in x 1 1/8in x 8ft. It is just under $1 / ft. I needed 27 boards for this (roughly) 5×9 room which is 216 linear ft, roughly $216 plus tax.
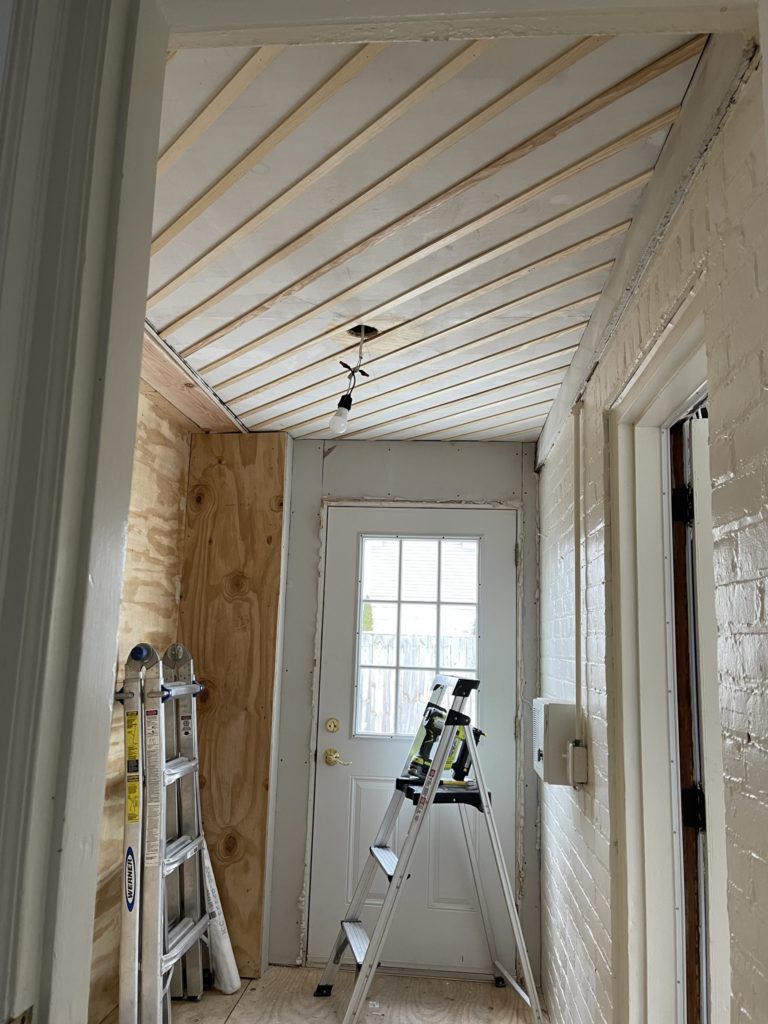
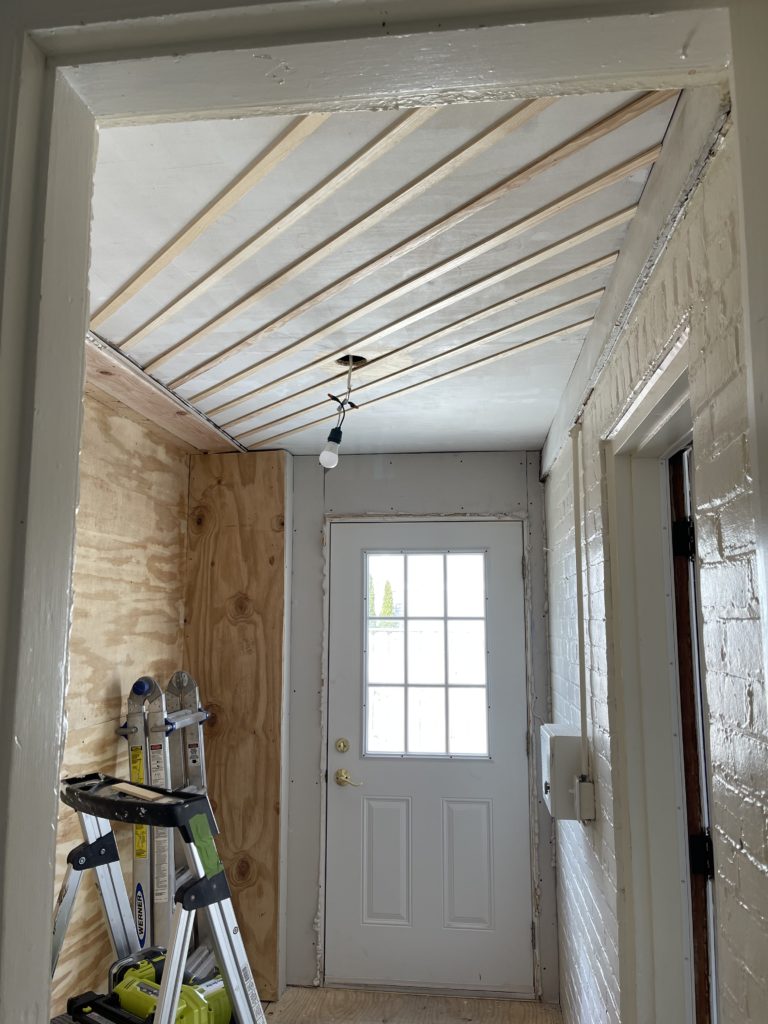
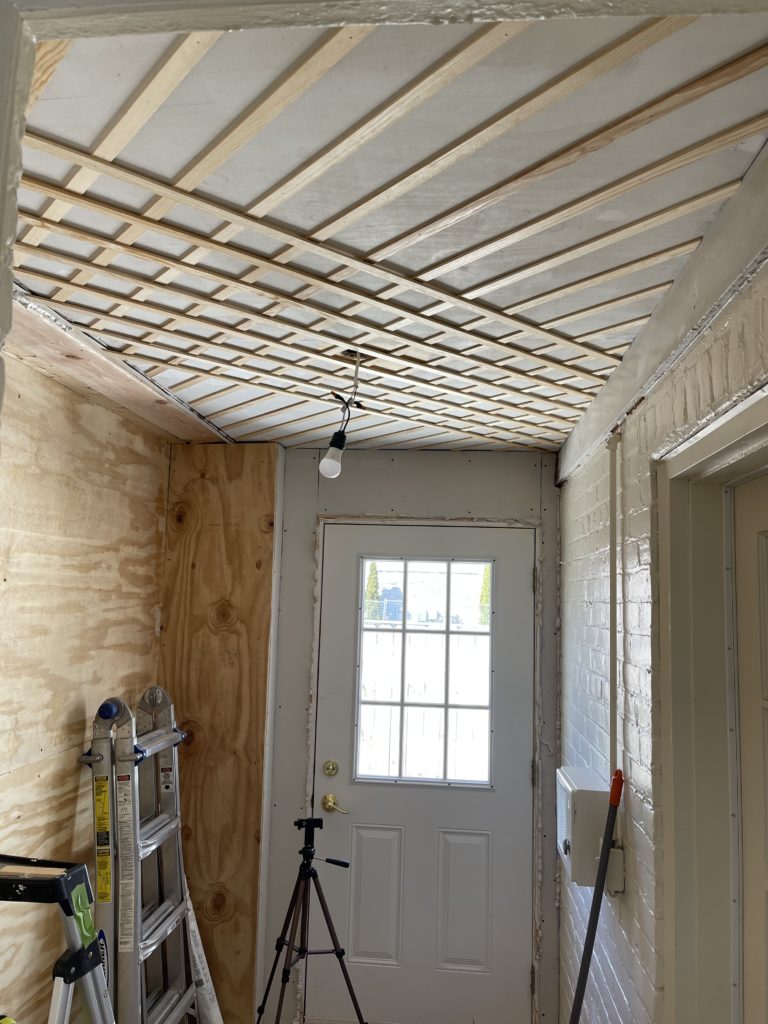
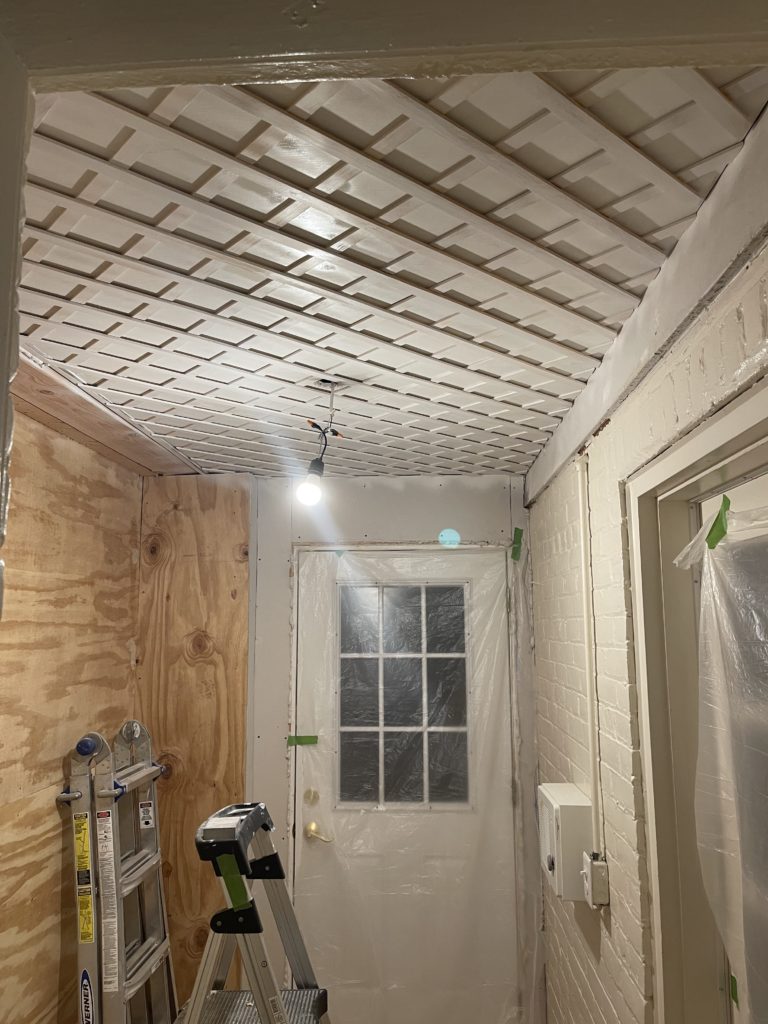
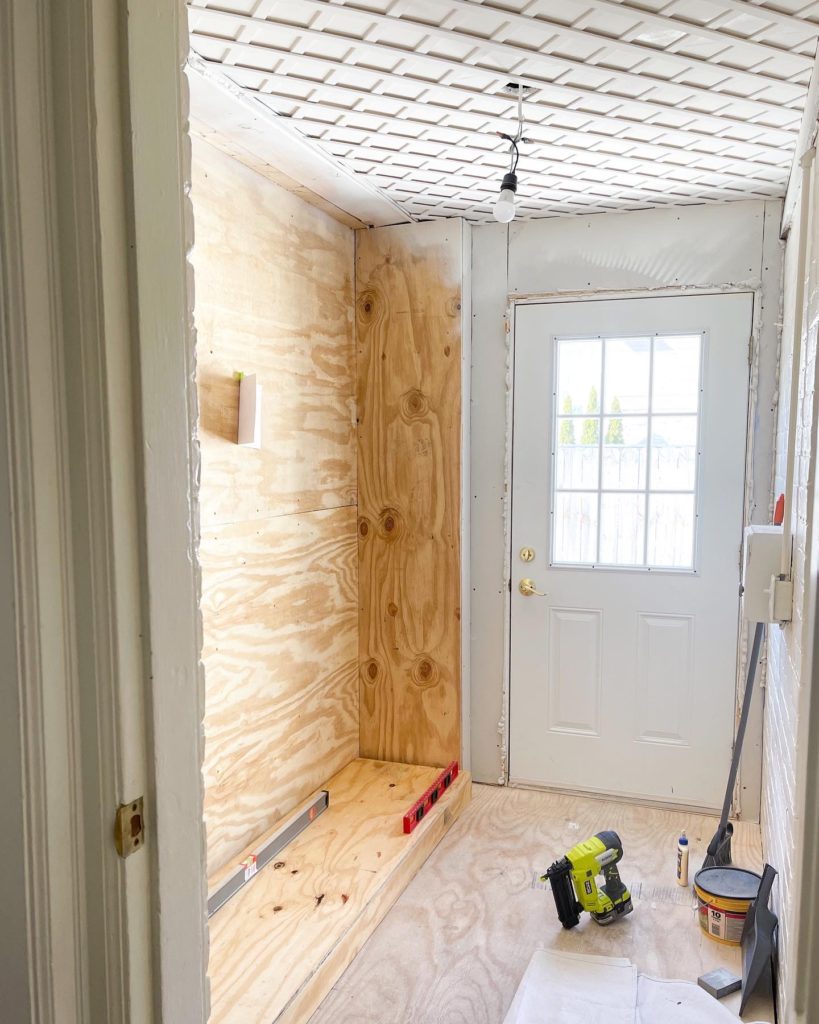
Next up was prep. I had my handyman install a new ceiling for insulation purposes. We dropped it down 6 inches and added insulation. This also gave us an opportunity to extended the electrical wiring to add sconces. I asked my handyman if we could do a plywood ceiling since I planned to put nails all over it, so that’s what we did. This is definitely unnecessary and drywall is perfectly fine. My ONE mistake was not thinking to have him get smooth plywood. I had to add a TON of wood filler and I thought I got it smooth but it definitely still has some rough areas that are on my list to touch up. One thing to note, it’s a good idea to paint the ceiling before you install the lattice.
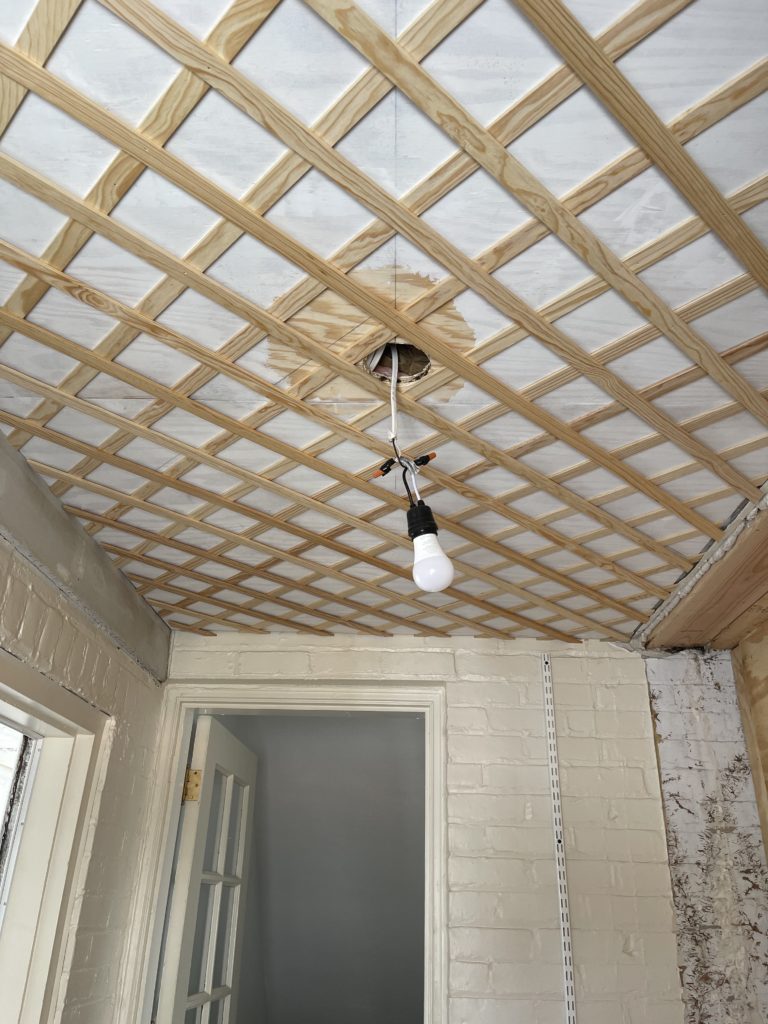
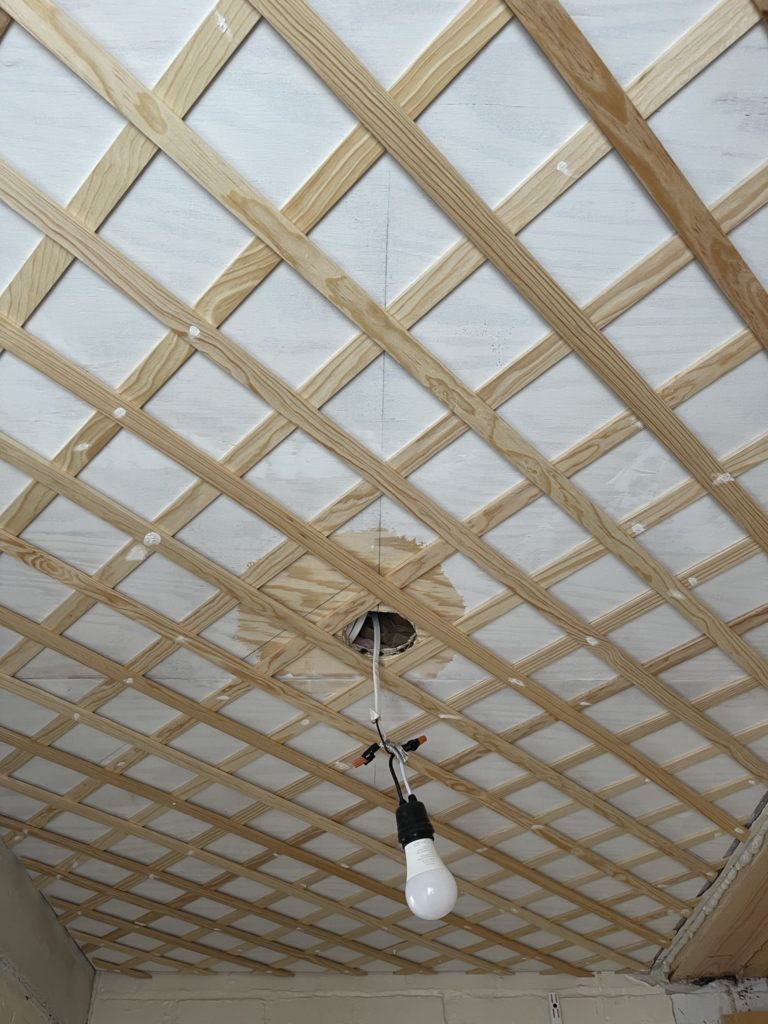

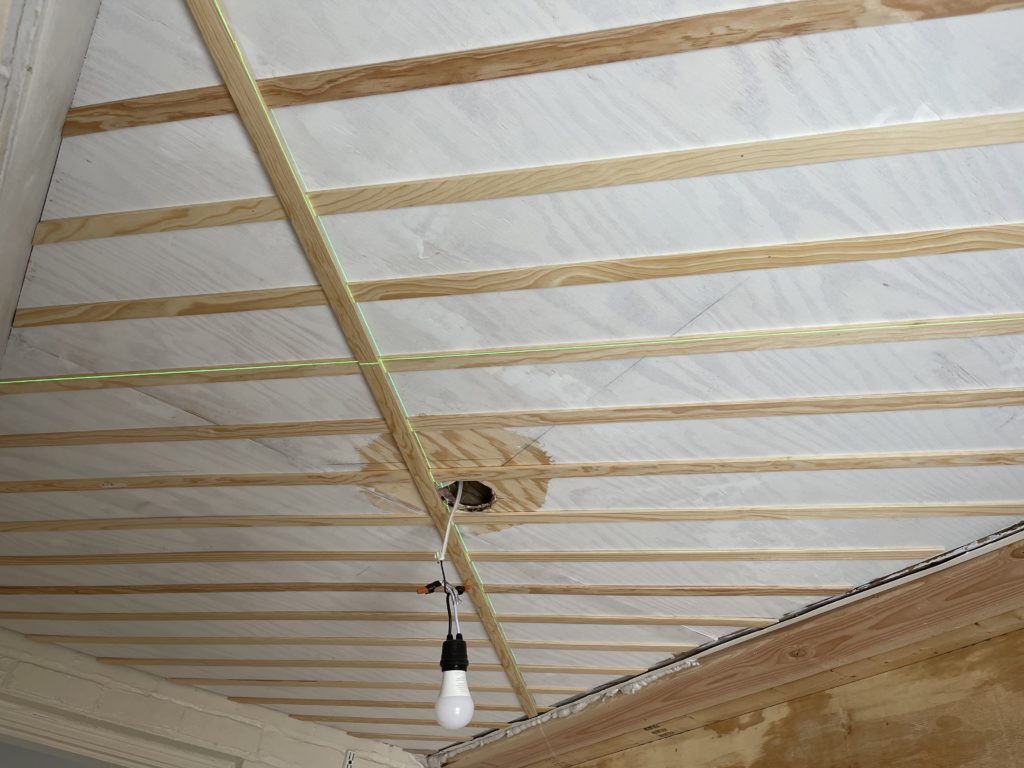
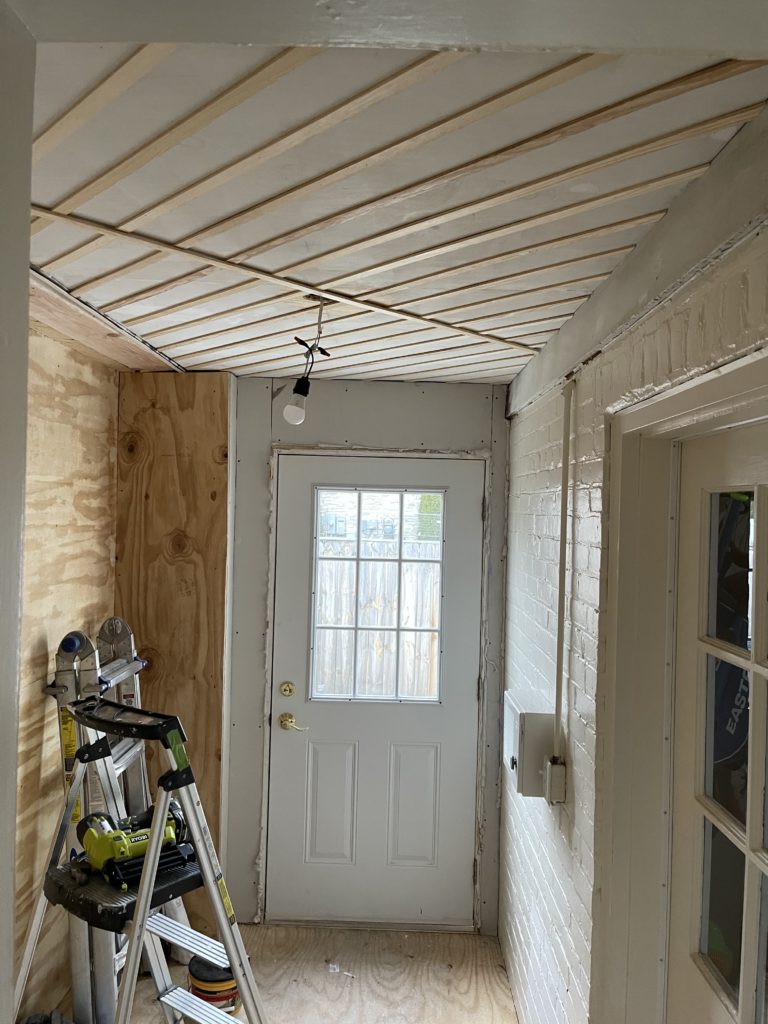
Now for the juicy stuff, how I did it and the spacing. I used my laser level and ruler to measure the distance from each wall to the middle to draw two straight lines- one the length and one the width of the room, both centered. Then, I measured 45 degrees off each line creating my diagonal lines. It was really only necessary to get those first diagonal lines right because after that, I made a 4 inch spacer and used that as my guide. It’s a little sloppy measuring the length of your first board (two people would be ideal). But once you have your length, you can cut a lot of boards at once. I cut my first board, lined it up with my diagonal line, and used my brad nailer to secure. Next, I took my second board and wedged my 4 inch spacer in between them and nailed the second board in. I started at the wall and moved my way across the ceiling, moving the spacer as I went. I would not recommend starting in the middle because it is too hard to tell if you got the angle right, potentially resulting in being too short on one end and too long on the other (learn from my mistakes)! Once you get to the edges, you have to start measuring each cut but this was a pretty quick project and turned out great! I will follow up this post with how to paint uneven surfaces. I would love for you to leave a comment or answer any questions you have, just leave them below!
Click here for the materials and tools I used.


Did you have to cut each end at the corresponding angle or are they squared off and just covered by the perimeter trim?