

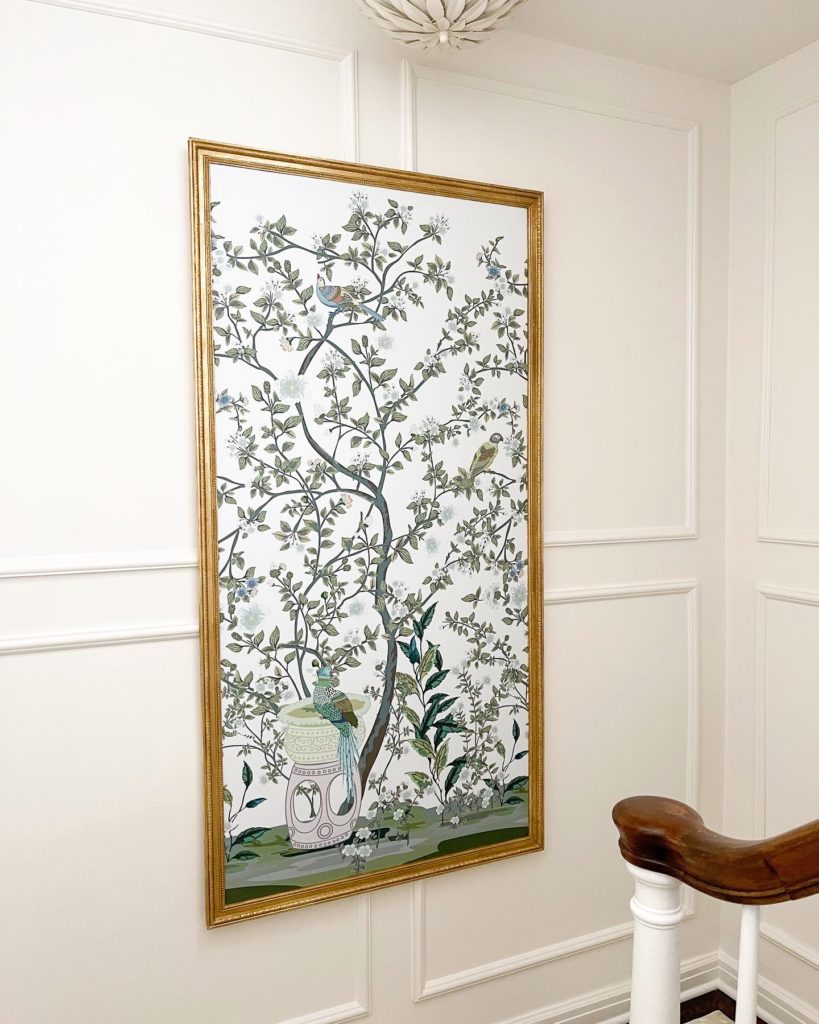
Custom framing can get really pricey and take weeks, if not months, to have completed. I wrapped up my stairwell project and had the art, but no frame, so I made it! It was much easier than I thought and turned out so nice! So let’s get to it! You can shop all supplies here.
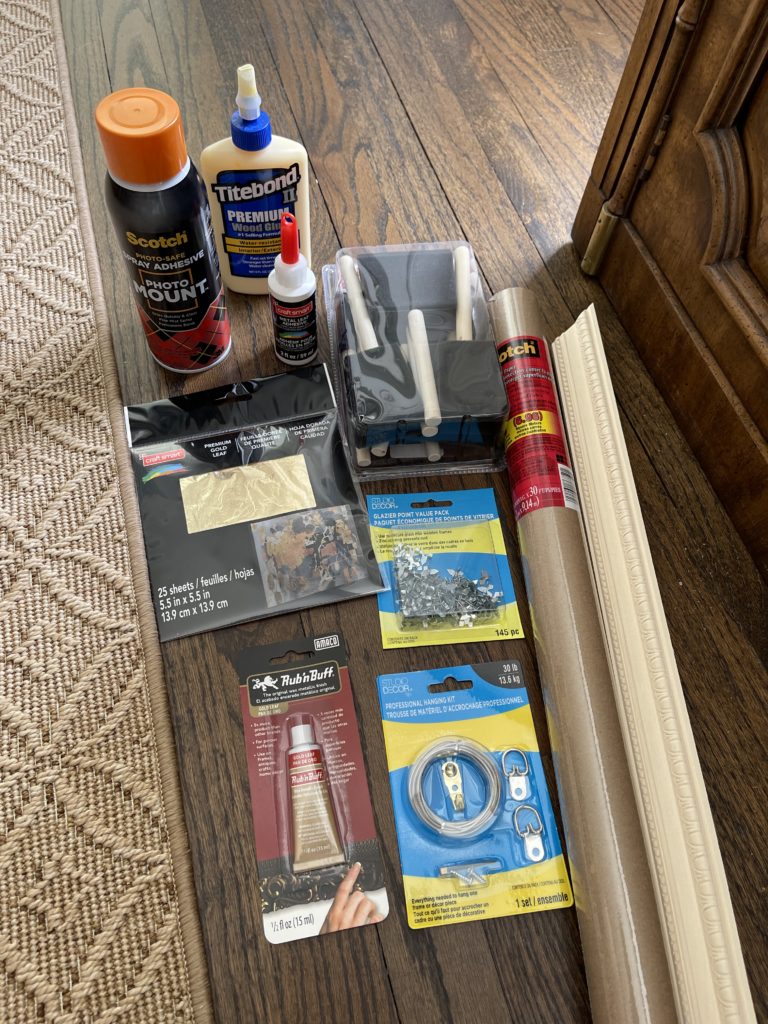
First, you’ll need your art dry mounted to a foam core board or you can glue it yourself, that what I did. I used photo safe spray adhesive on a foam core board and put the picture on and smoothed it gently with a wallpaper smoother. Foam core board can be purchased at the framing department at most craft stores or you can order gatorboard (more sturdy) from FedEx, Fast Signs, or a framer. Full disclosure, the glue is VERY sticky so you only get on shot, there is no adjusting the photo, so be mindful of that when placing the art on the adhesive.
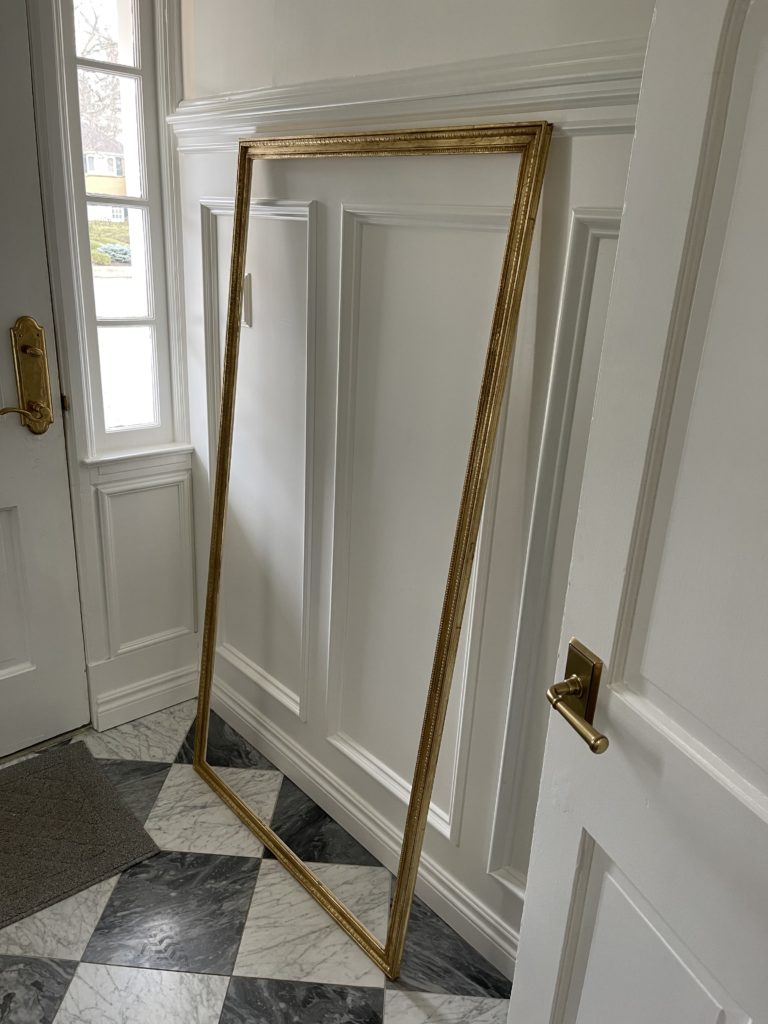
Next, building the frame is actually pretty easy. I used picture frame molding, note that it has a little lip that the art sits in. I bought three 8ft pieces for my 30 x 60 art. All cuts are 45 degrees and you can mark your art size on the inside of the frame and cut outward 45 degrees OR you can measure from the outside of the molding to lip (where the art will sit) and multiply that X2 and cut from the outside edge, inward. I personally think it’s easier to measure the outside frame dimensions (in this case adding 1.25 inches per side totaling 2.5 extra inches added) because it’s a cleaner cut when the molding is flat side down on the saw. I also trimmed .5 inches off the art to account for the white border so my total outside dimensions were 32 X 62. To recap, the outside of my frame, and my cuts, were two pieces at 32 inches (29.5 +2.5) and two pieces at 62 inches. (59.5 + 2.5).
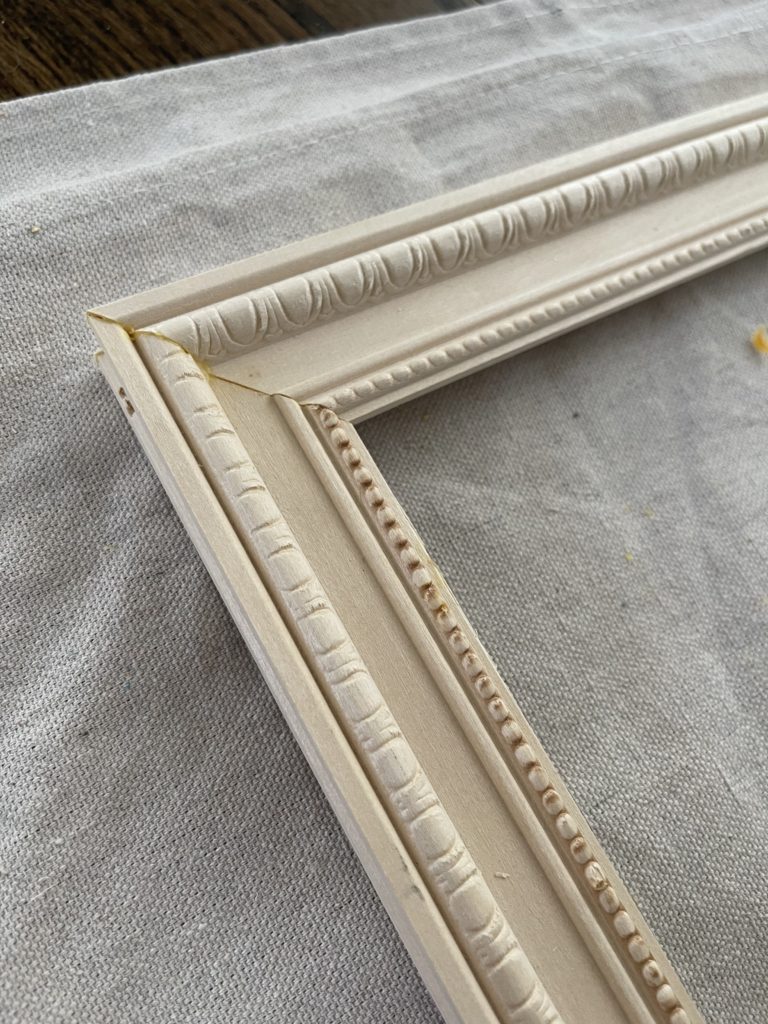
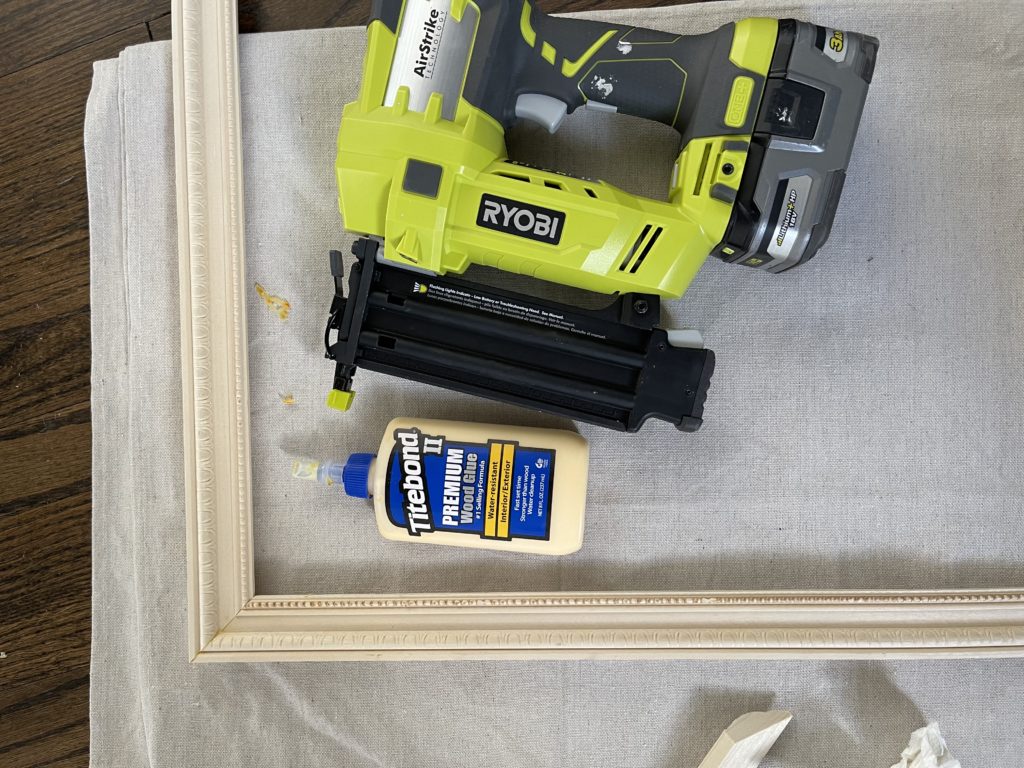
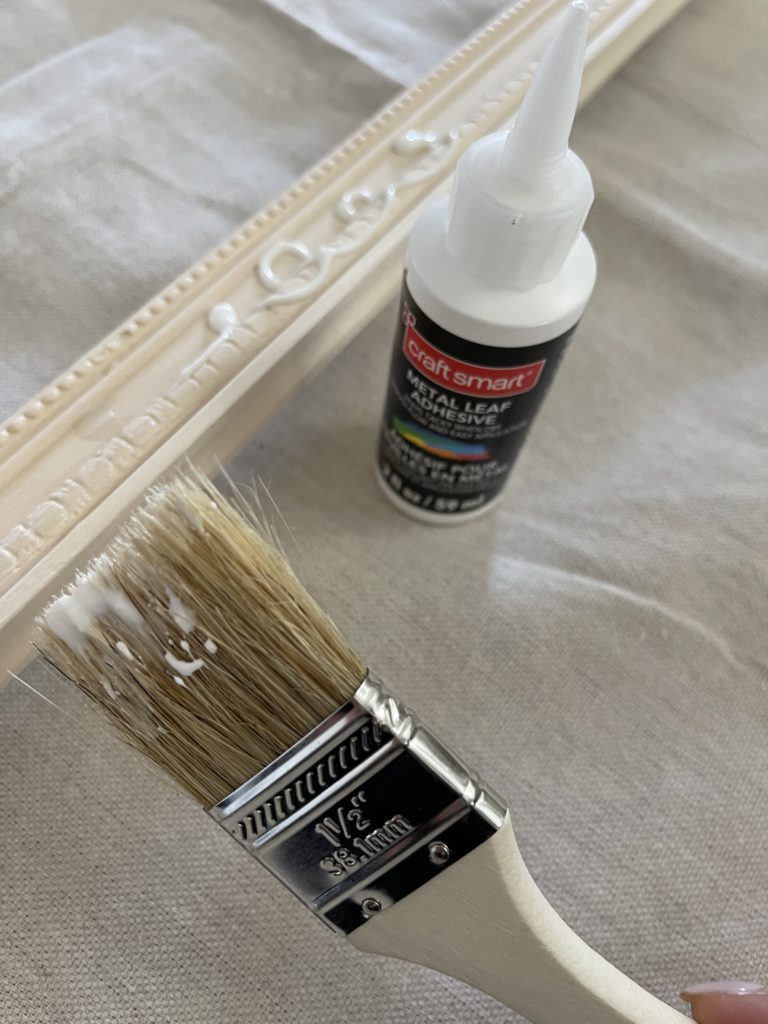
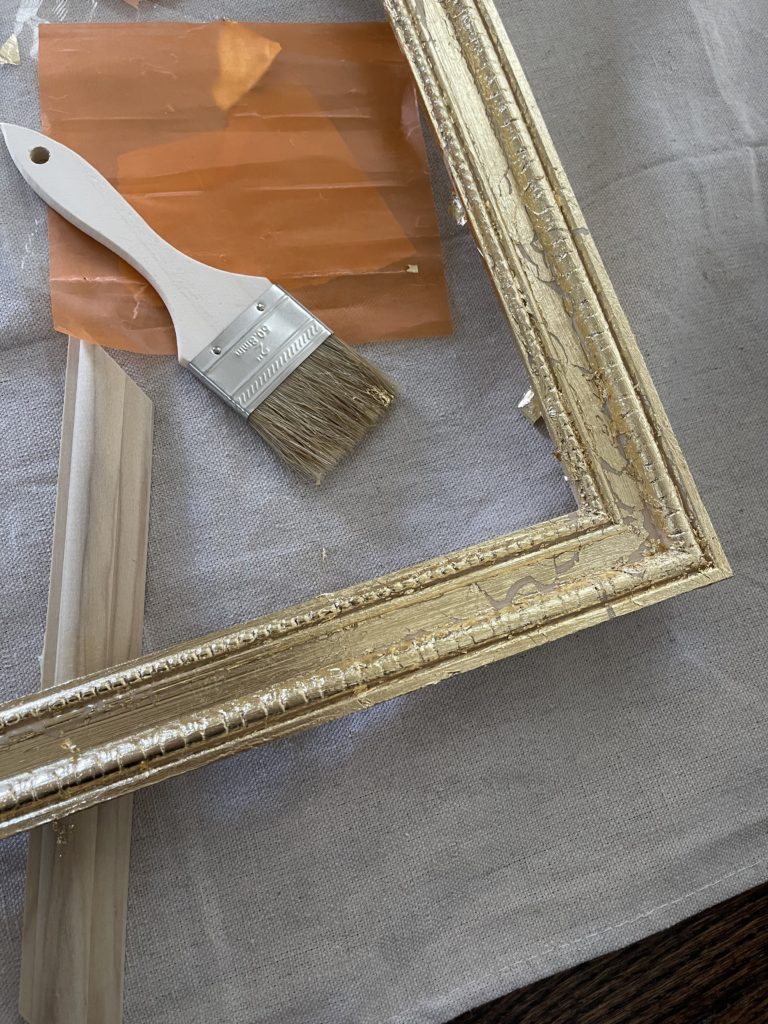
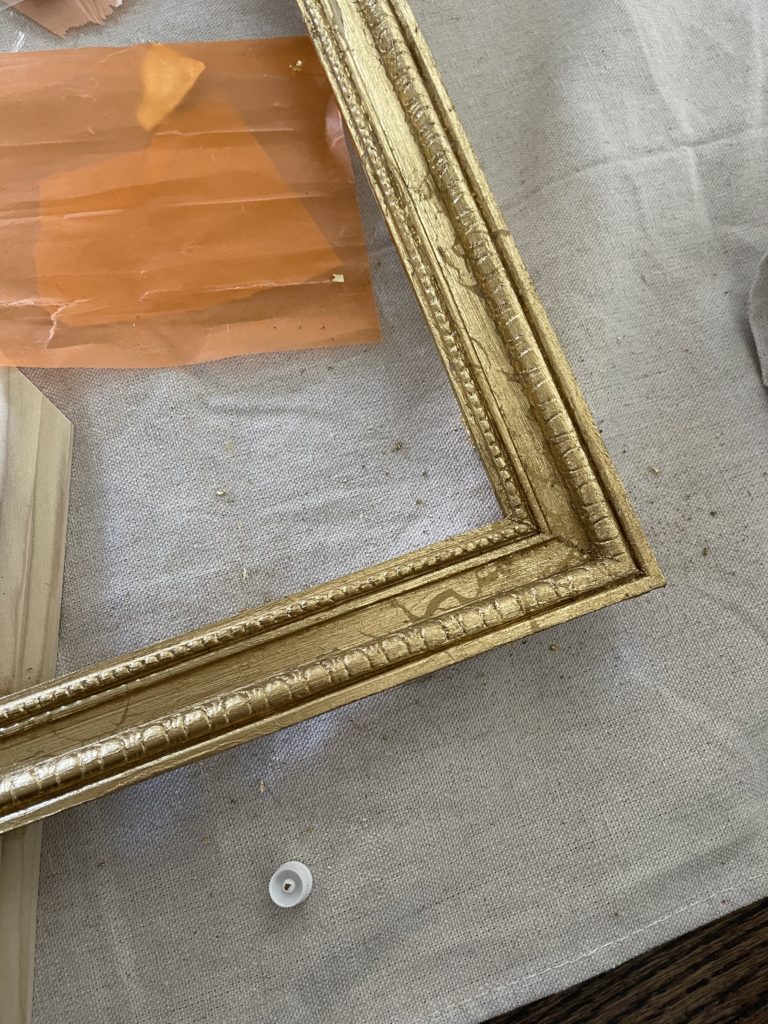
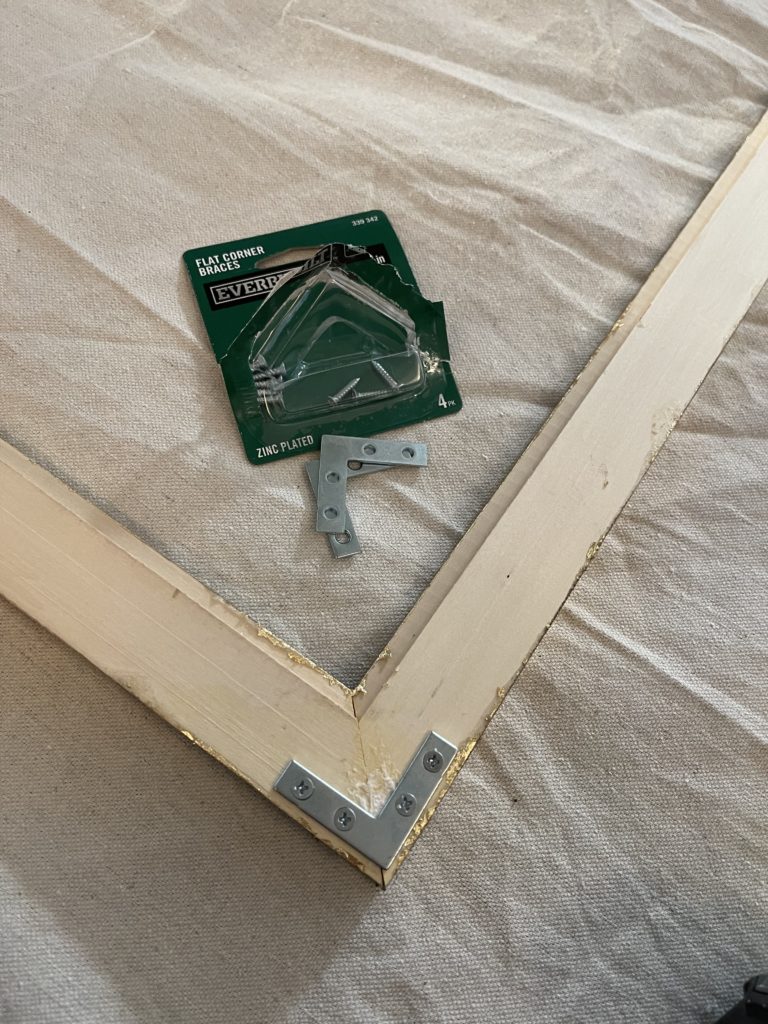
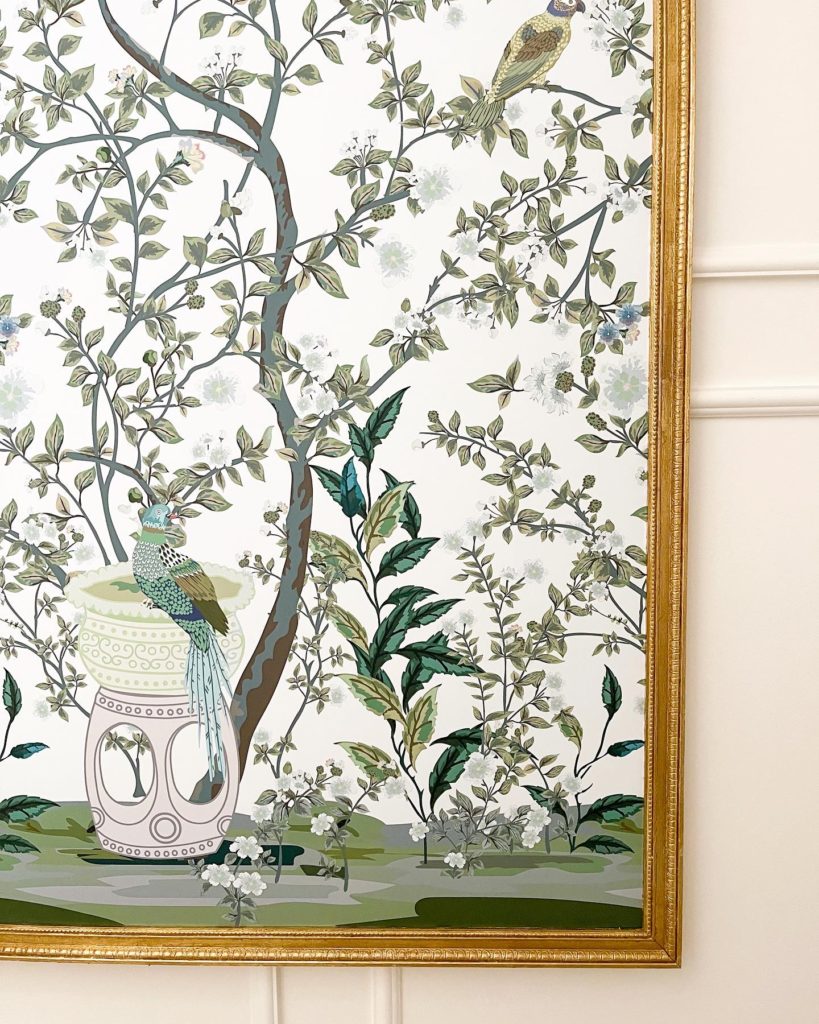
To nail the frame together I used a brad nailer and .75 inch brad nails, 1 inch is probably better for this size molding. You can also nail it with a hammer but make sure you have this tool so you don’t dent the frame. I also added wood glue for long term strength. Then, I added flat corner braces on all 4 corners. I applied metal adhesive all over the frame and let it sit for 45 minutes. Then, I applied gold leaf sheets and smoothed with a brush. Next, I went back over it with rub n buff in color gold leaf, using my brush to smooth it.
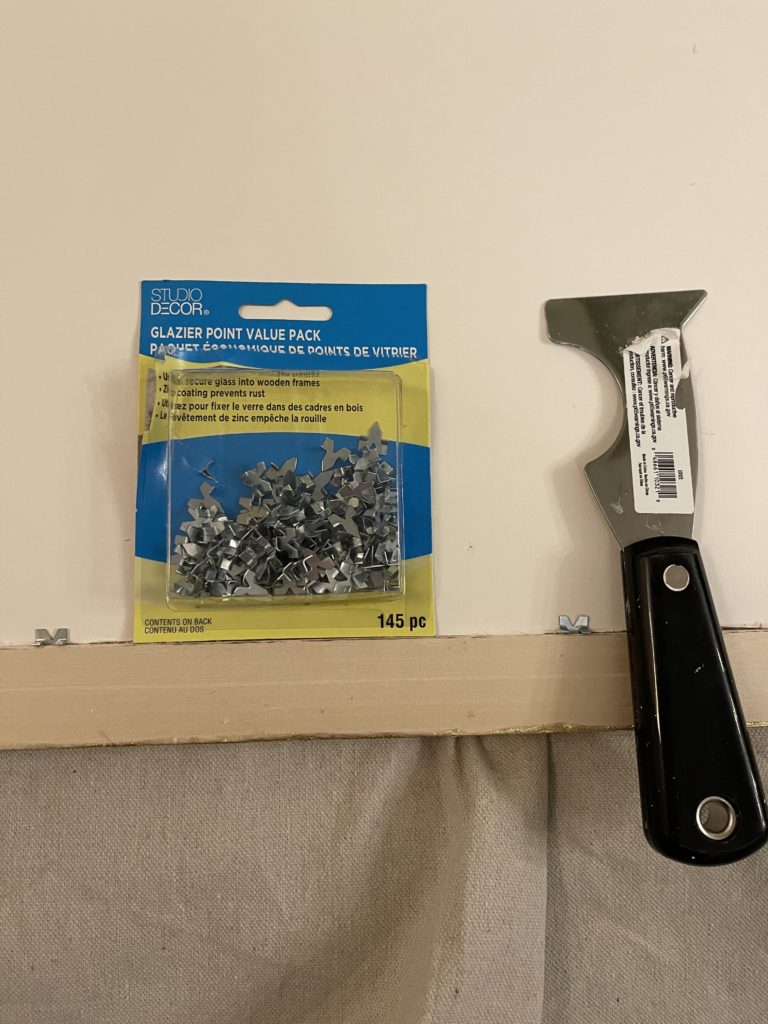
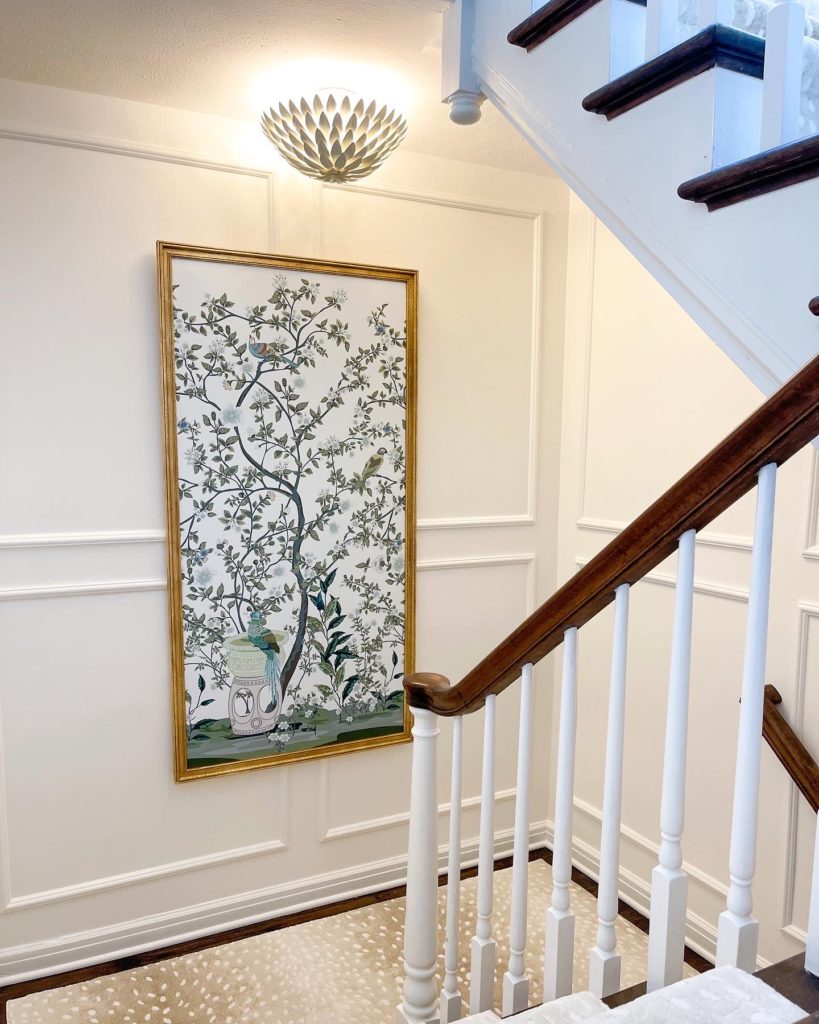
Now for the fun part, putting the art in! I secured it using glazier points and they easily secured the art and pressed into the wood. I used by paint scraper/ multi tool to press them into place. I added paper to the back, but this was definitely not necessary. The final step was to add the mounting brackets and wire. I’d strongly recommend coated wire to not scratch the foam or your walls (or your hands while putting it on).
Click here to see all the tools I used for this project and the art!
While I already had the foam core board and the tools, the material cost for this project was only $90! That’s an amazing price for an oversized gold leaf frame!


