If you want that perfectly smooth finish, painting with a paint sprayer is the way to go. I’ll go through the pros and cons of using a sprayer and share the tools I use.
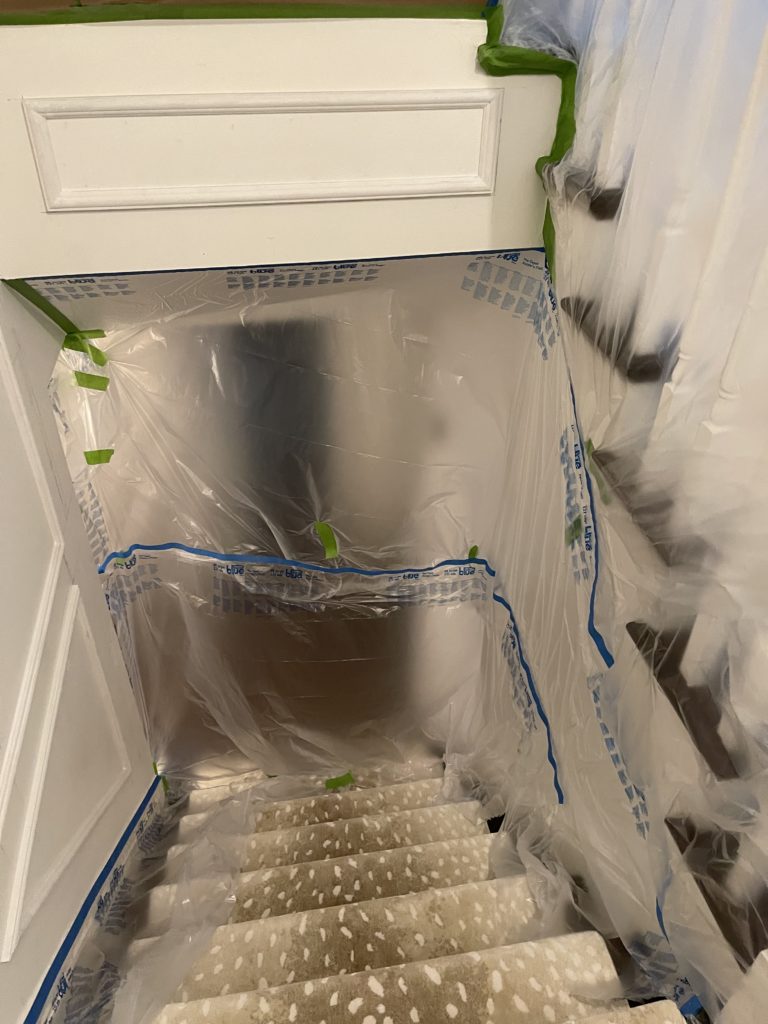
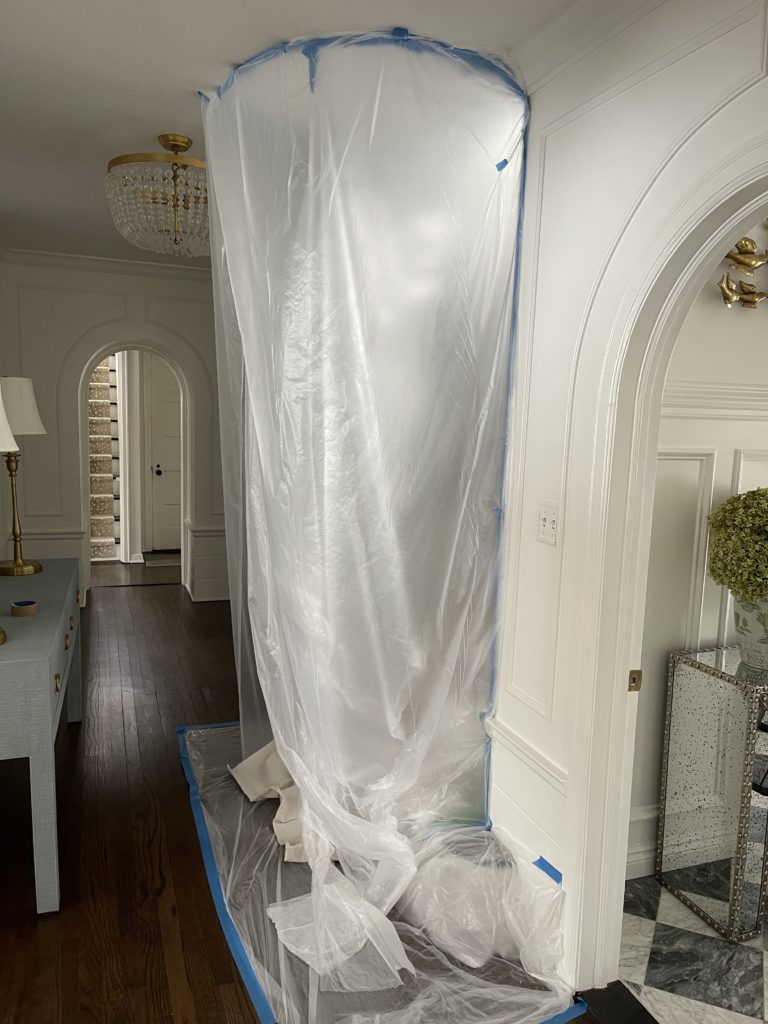
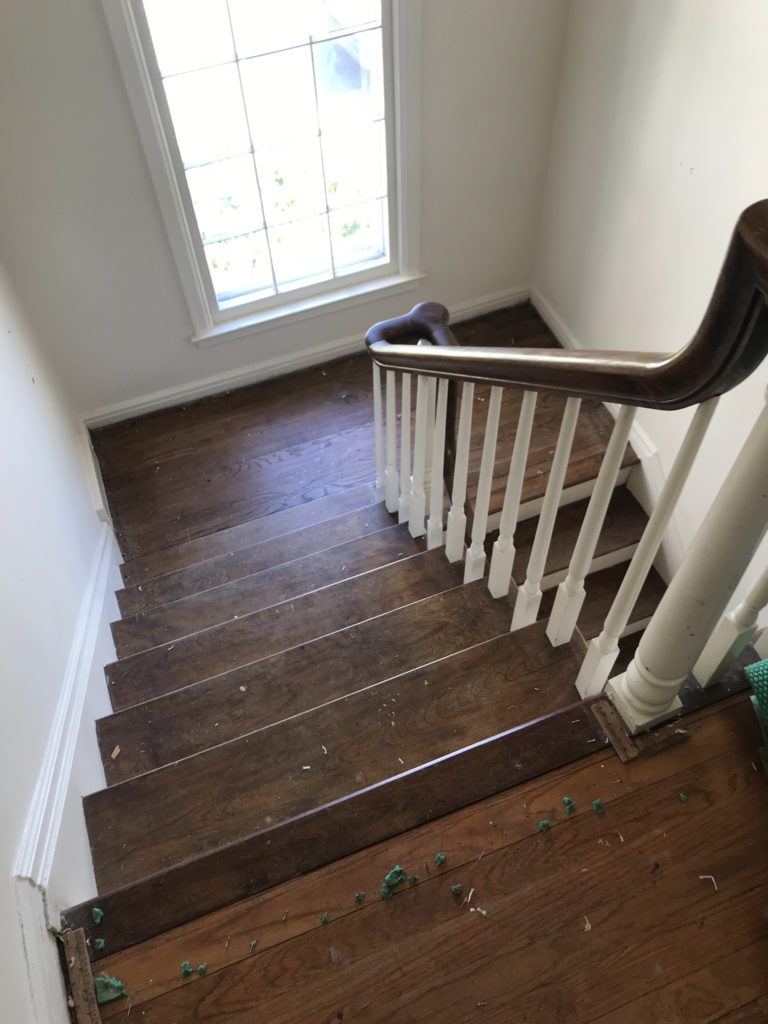
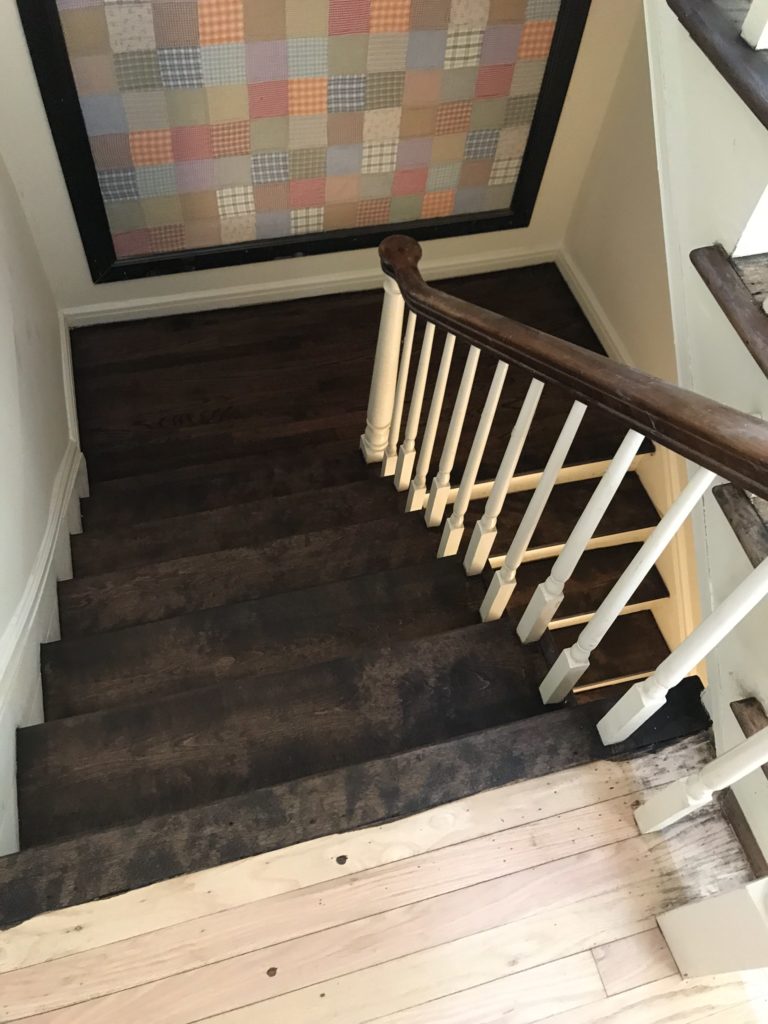
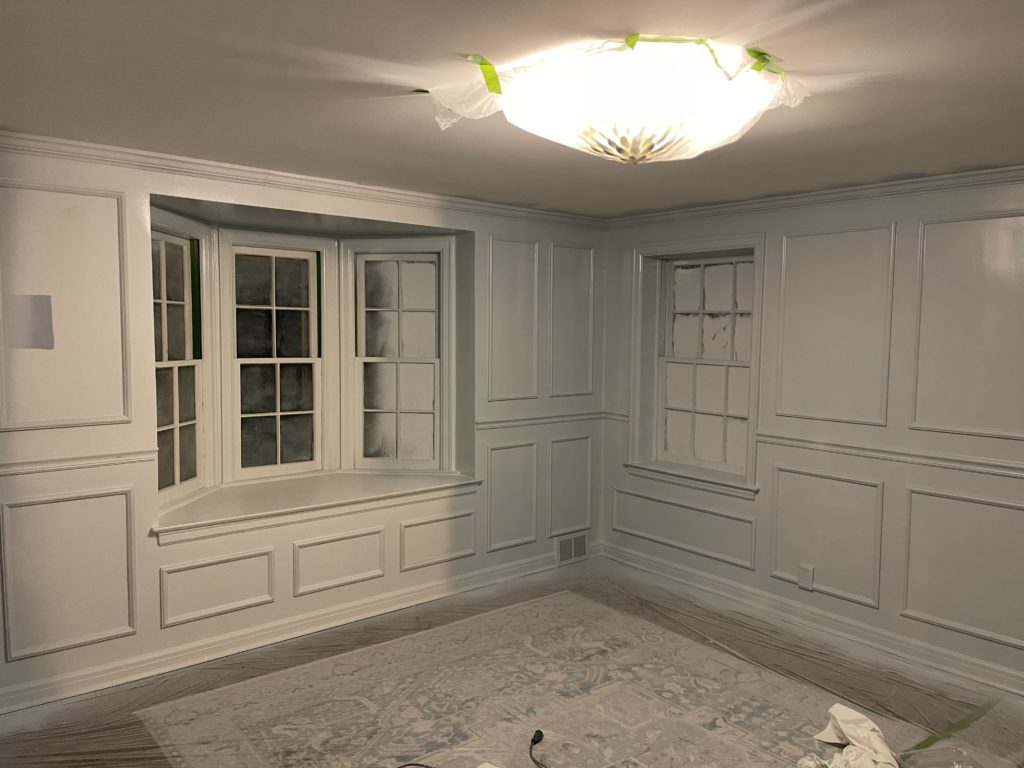
The first step is prep. This is the con, the prep is more labor intensive. Paint travels much further than you would think so it needs to be completely taped and plastic’d off. Floors, ceilings, handrails, windows, lighting, it all needs to be covered. For protection, use paper or plastic or paint tarps or a combination. For my most recent project I used 12 inch paper along the ceiling, used tape and plastic along the baseboard and then put tarps on the carpet.
Below is the list of all the supplies you’ll need:
Get started
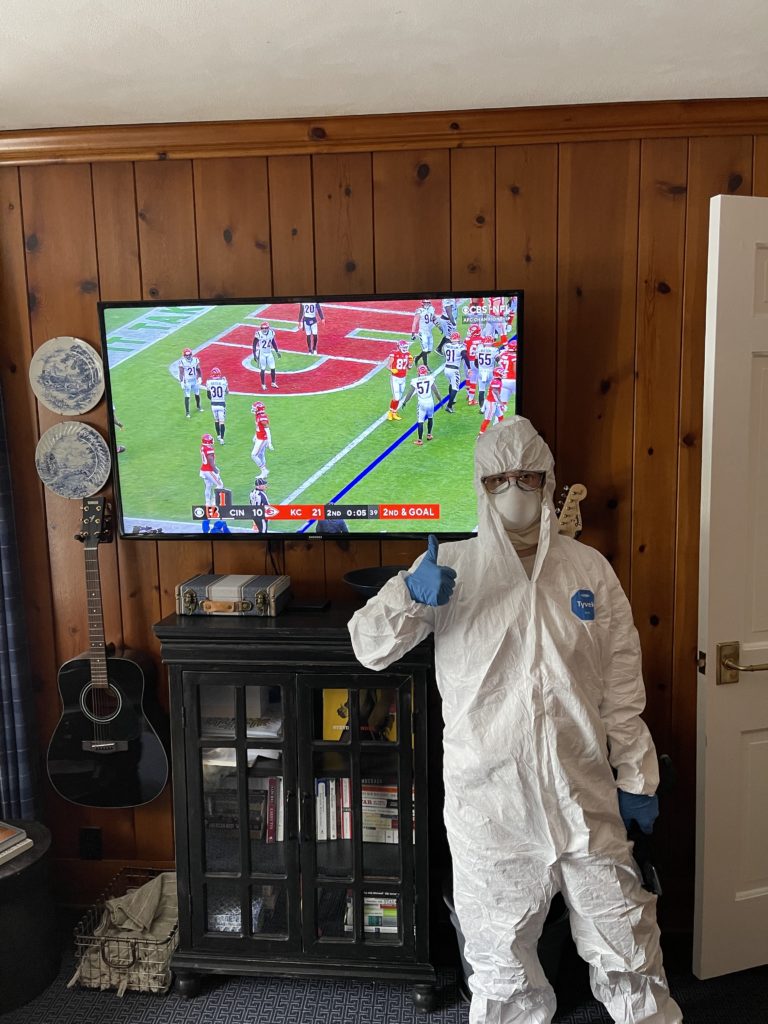
Once everything is prepped, get in your paint suit and get started. Plug in the paint sprayer and insert the plastic liner. Insert your spray tip of choice (comes with a 4 and 12). I like the 4, it doesn’t spray as wide. Make sure the metal opening is facing out by. Next, open your paint can and attach the pour spout. This seems minor, but it’s a must have for this project, otherwise you have to take the whole sprayer apart multiple times to refill with paint.
Pour the paint into the plastic liner and screw on the top. Attach the paint bucket to the sprayer and open the small cap while you squeeze the liner and it releases the air bubbles. Turn the knob to prime pump and pull the trigger. Repeat squeezing the air out one more time. Turn knob to spray and you are ready to paint!

The art not science part
The goal is to hold the paint sprayer about 12 inches from the object / wall and try not to angle it. I like to start at the top of the wall and go down. Then you overlap the last section by 50% and keep moving, each time overlapping the last spray by 50%.
Sprayers go through paint very fast and it puts a LOT of paint on the wall, no need for a second coat. If it’s a large flat surface you will want to back roll the area to ensure there are no stripes from the sprayer. By “back roll” this means your paint roller won’t have any paint on it, you’ll just lightly roll over that area. This is not necessary, but it’s easy and quick and do it right away before the paint starts to dry. Another note, use a good quality paint because you’ll want good coverage and no runs.
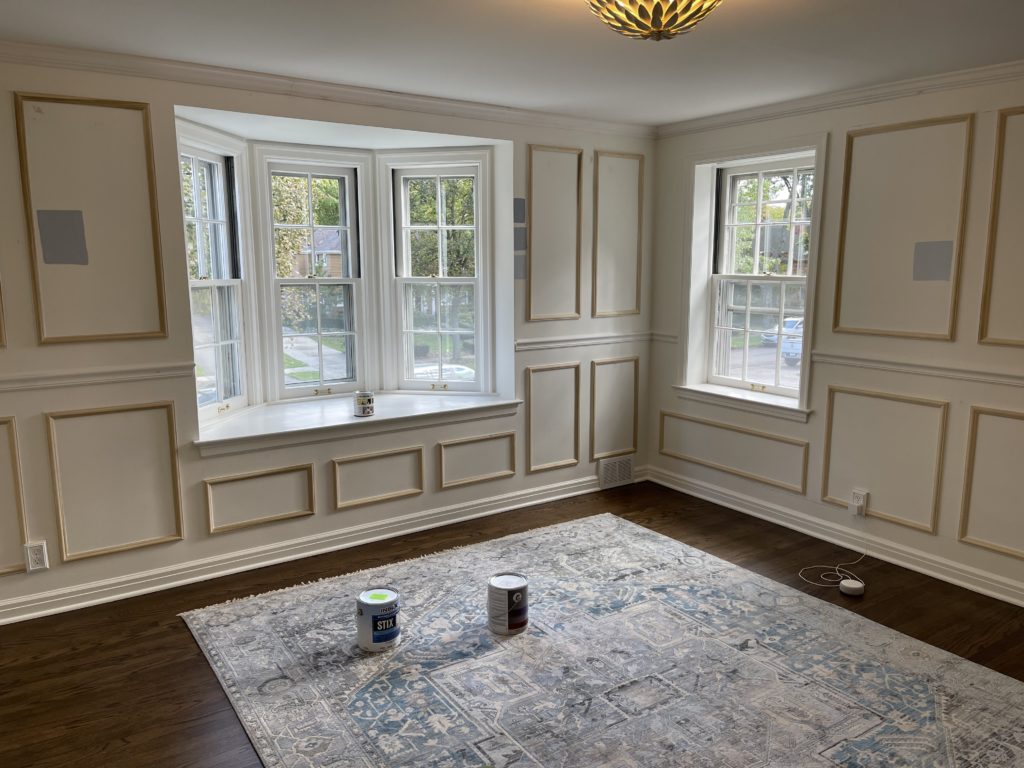
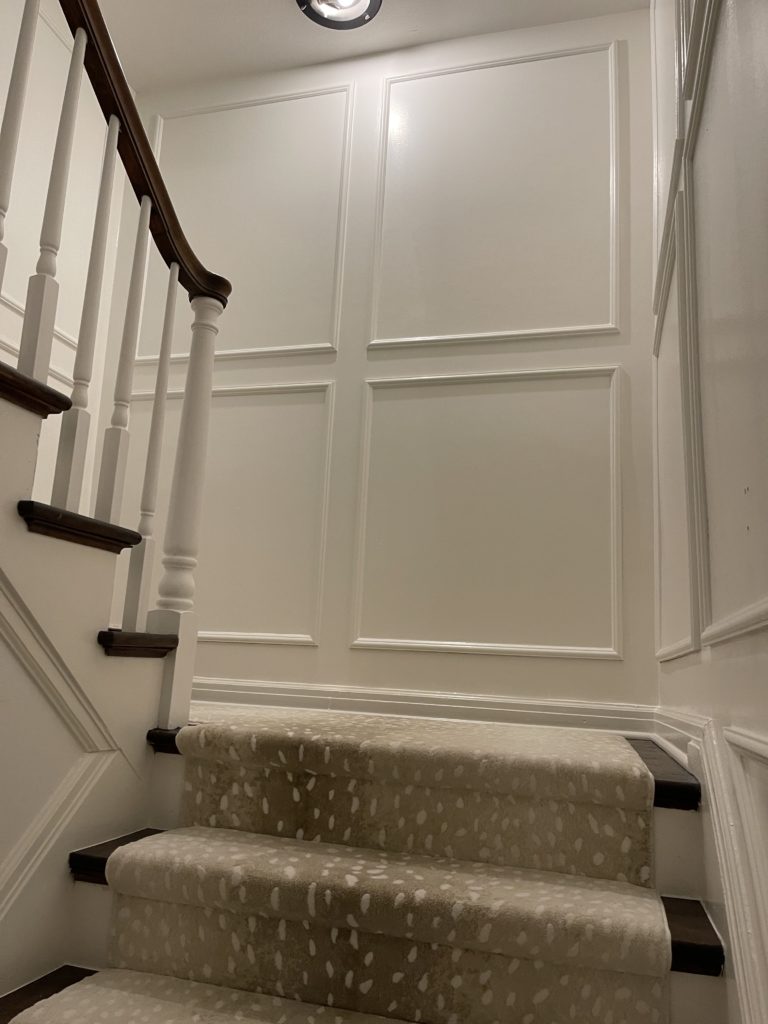
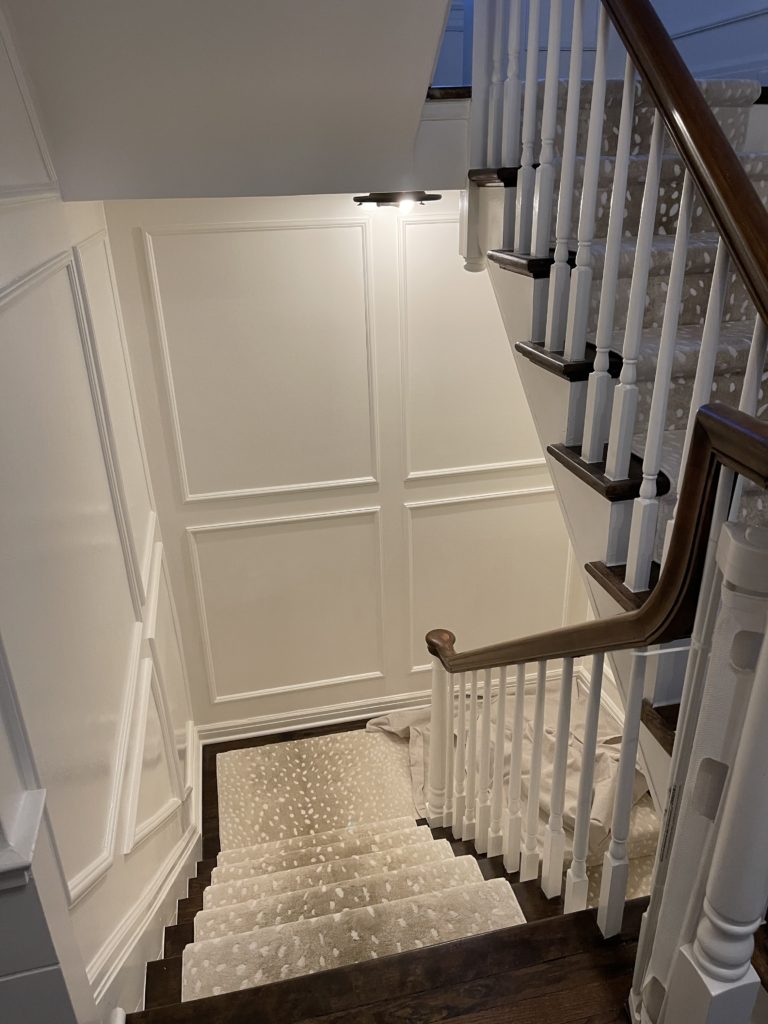
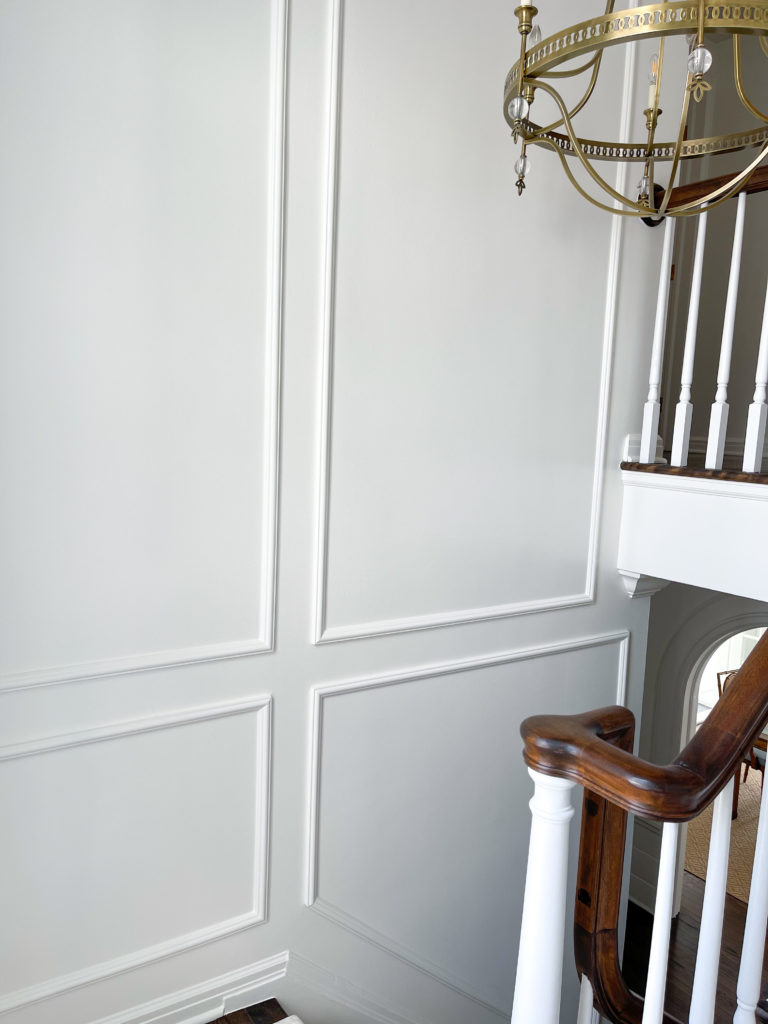
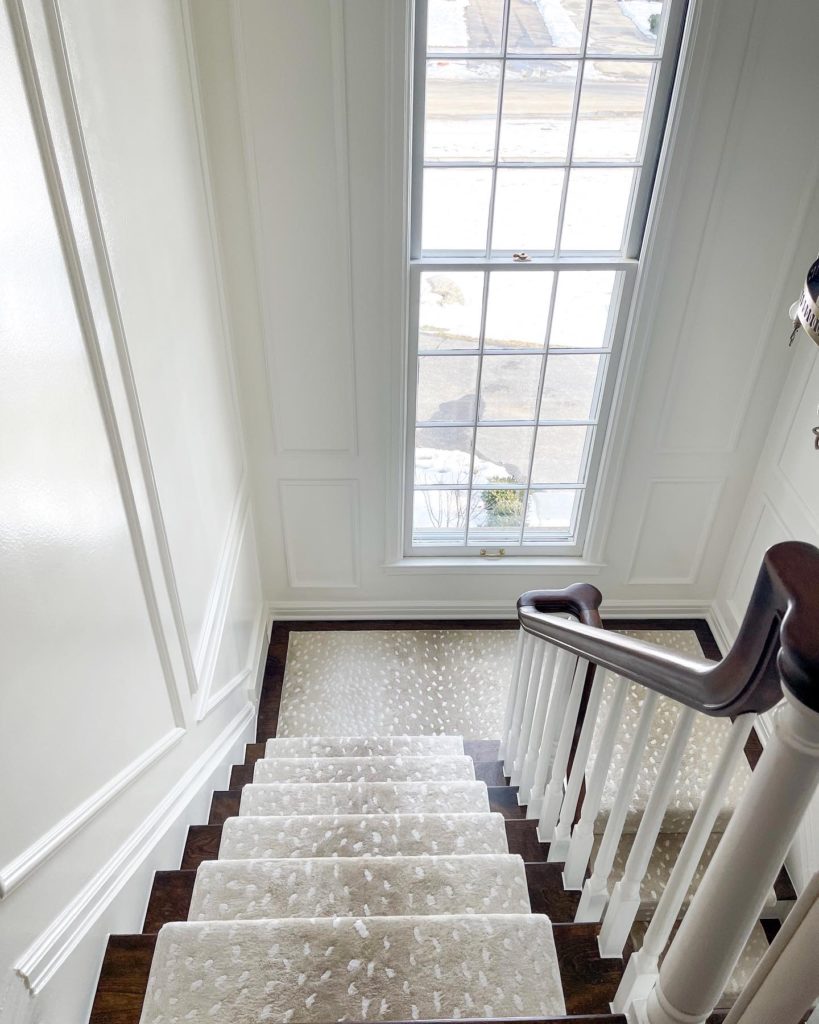
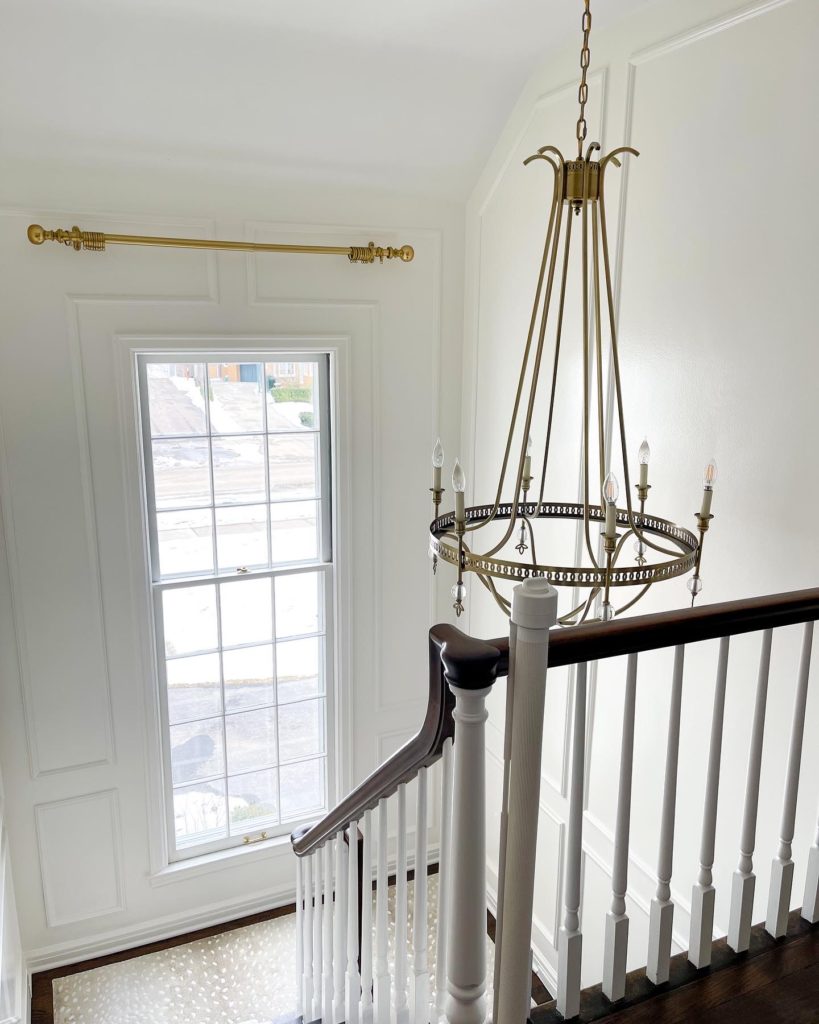
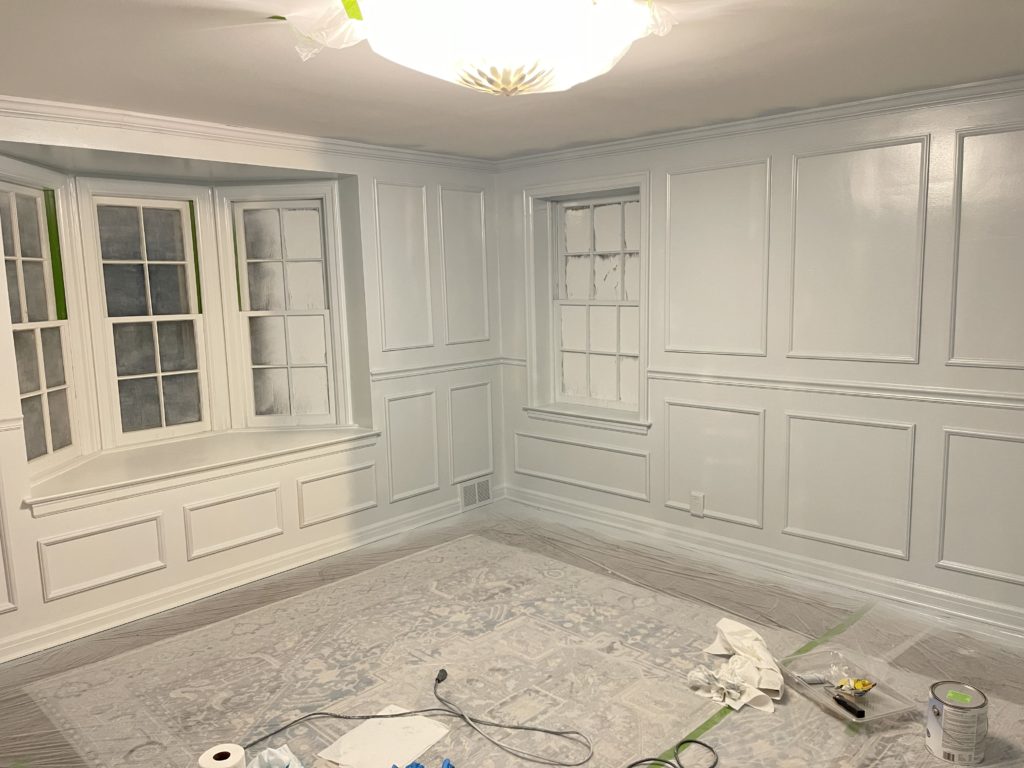
Give the paint a few hours to dry and then take down the plastic and paper. Fix you a cocktail and smile knowing that YOU did that. This is the pro, it looks amazing!