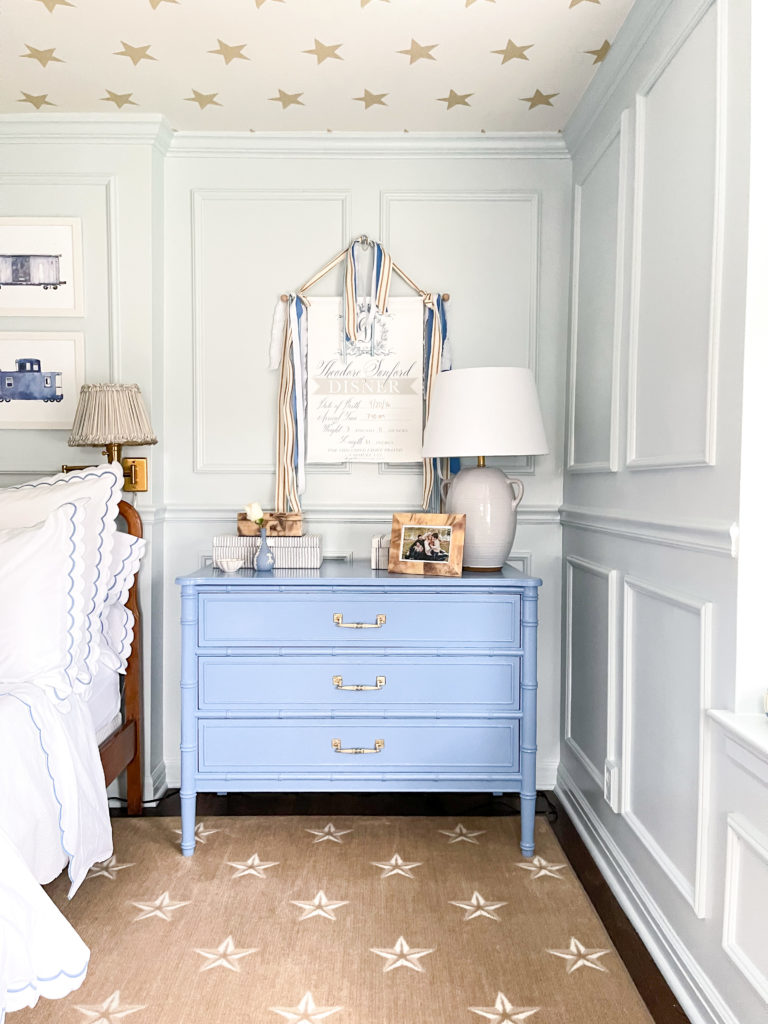
Let me first say that I am not a huge fan of painted furniture. I really enjoy quality wood furniture and I am all for sanding and staining, but not so much paint. However, there are some scenarios where painting just makes sense. In this case, a Henry Link Bali Hai dresser that’s from the 1960’s with a laminate top.

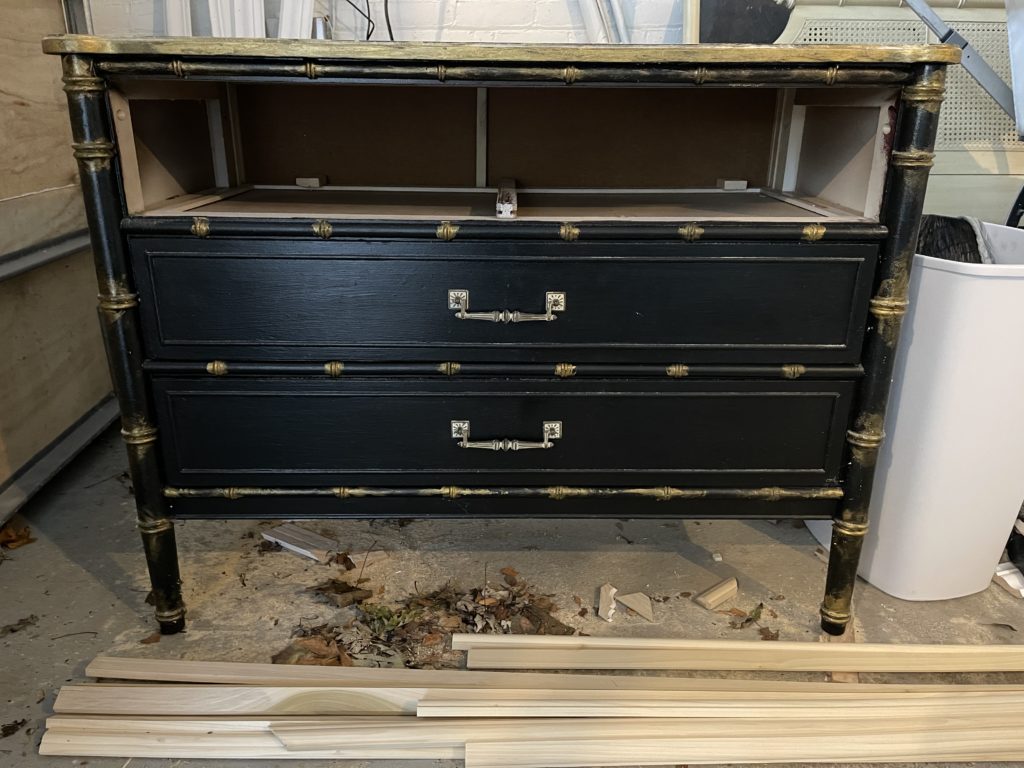
I actually painted TWO of these. One had been previously painted (not by me) and needed to be stripped (but let’s tackle that on another blog post) and one was in original condition. The stripped one and original one will both be handled the same.
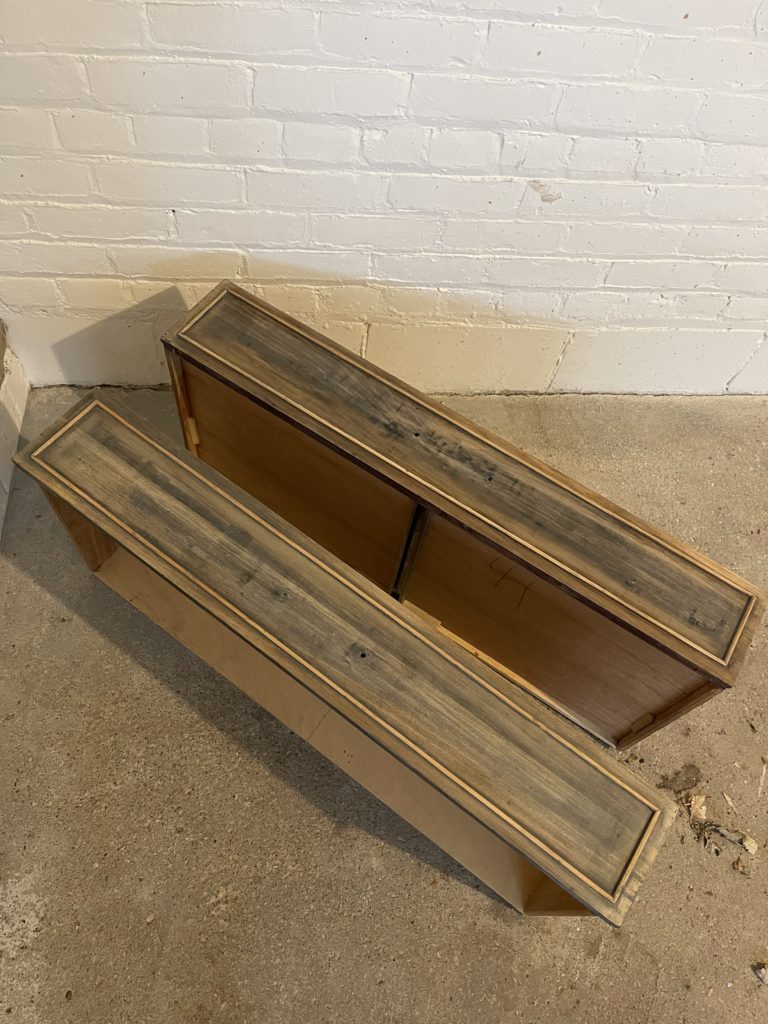
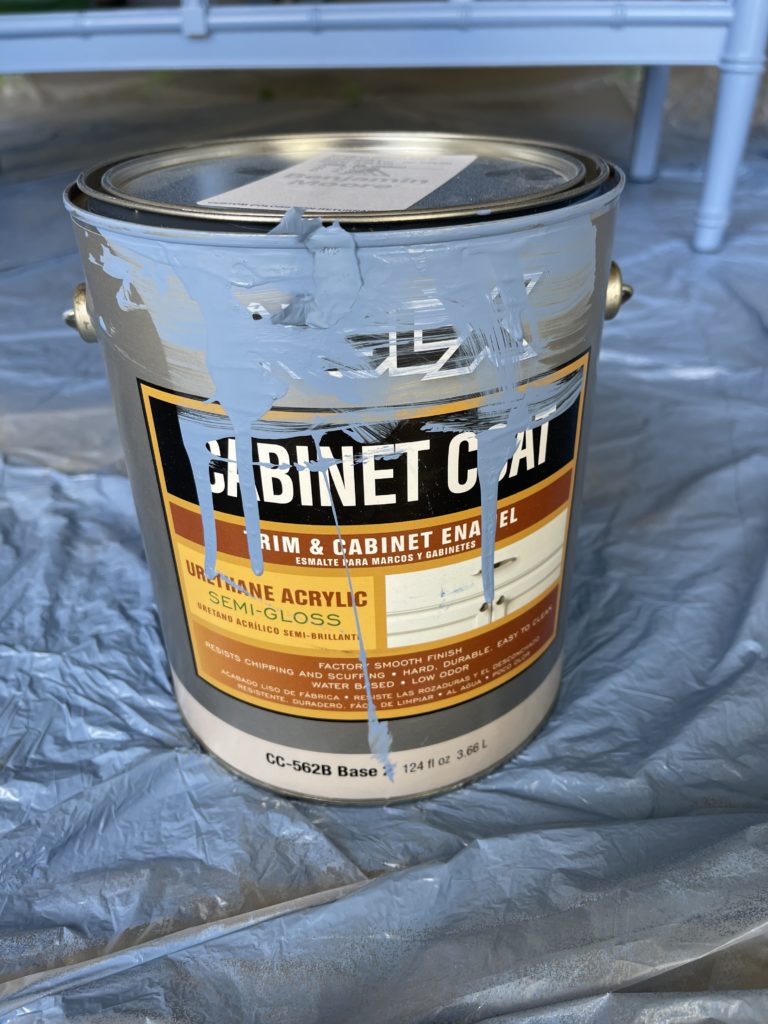
To start, I lightly sanded them with 120 grit sandpaper. I really love these sanding pads, they are perfect for getting in all the small crevices and around rounded edges. Then I took a tack cloth to remove all the fine dust particles. Next up comes the primer and quality matters. I used this one and it turned out great! Apply with a 3/8 nap, high quality roller.
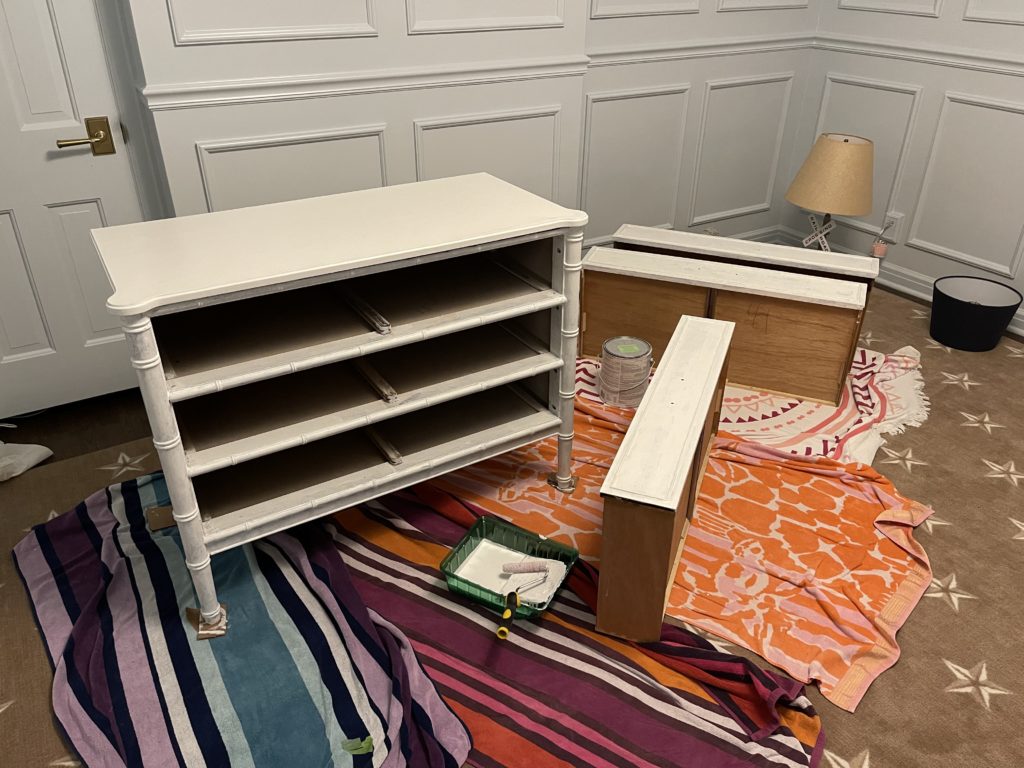
Now the fun part! Paint! I used two methods: roll and spray. Rolling is straight forward- 2 coats of paint with a 3/8 nap, high quality roller. Each paint varies with the time requirement in between coats, so check the can. I did not sand in between coats. The paint I used did not require a top coat and it’s held up great.
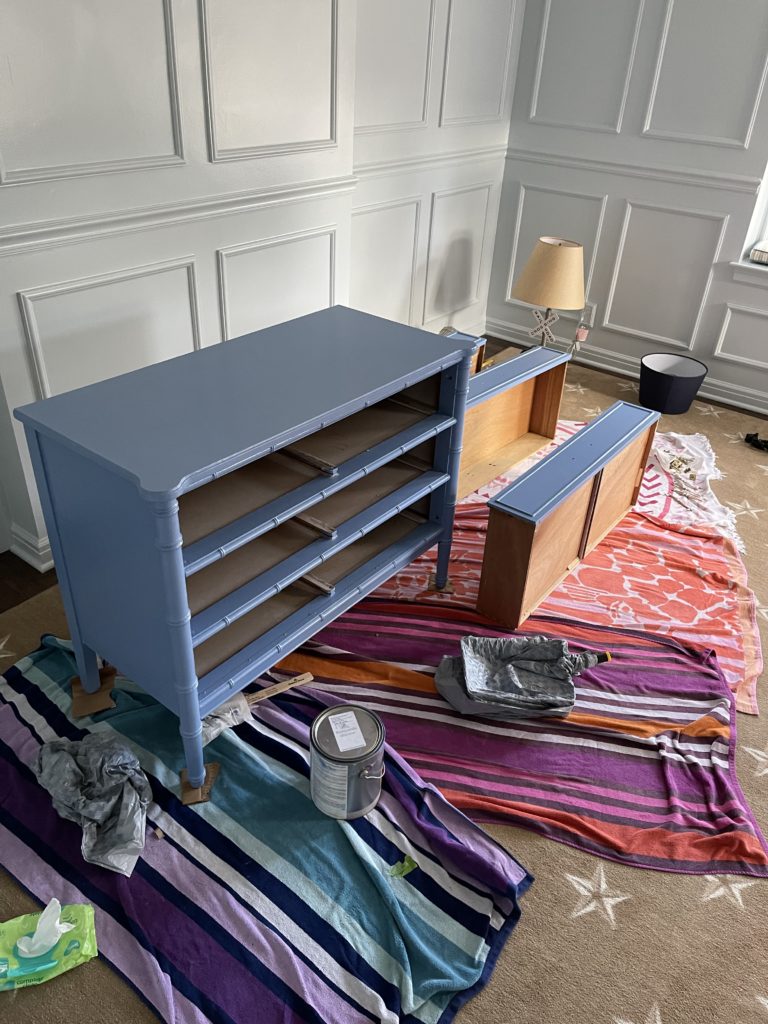
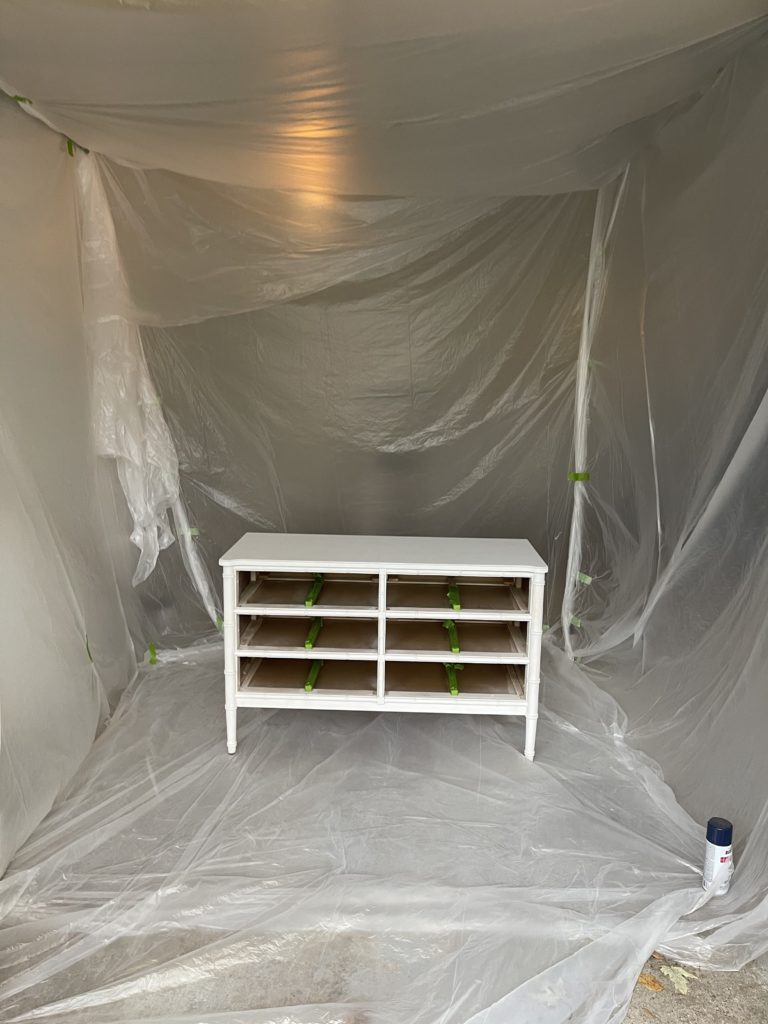
For spraying, I taped the sides of the drawers and prepped the garage. The spraying also took 2 coats. Spraying was very fast and the finish is smoother but the sprayer is an investment and the prep took longer. Honestly, I would have sprayed the second one but the weather dropped down below freezing so it made sense to just roll the other dresser inside to complete the project.
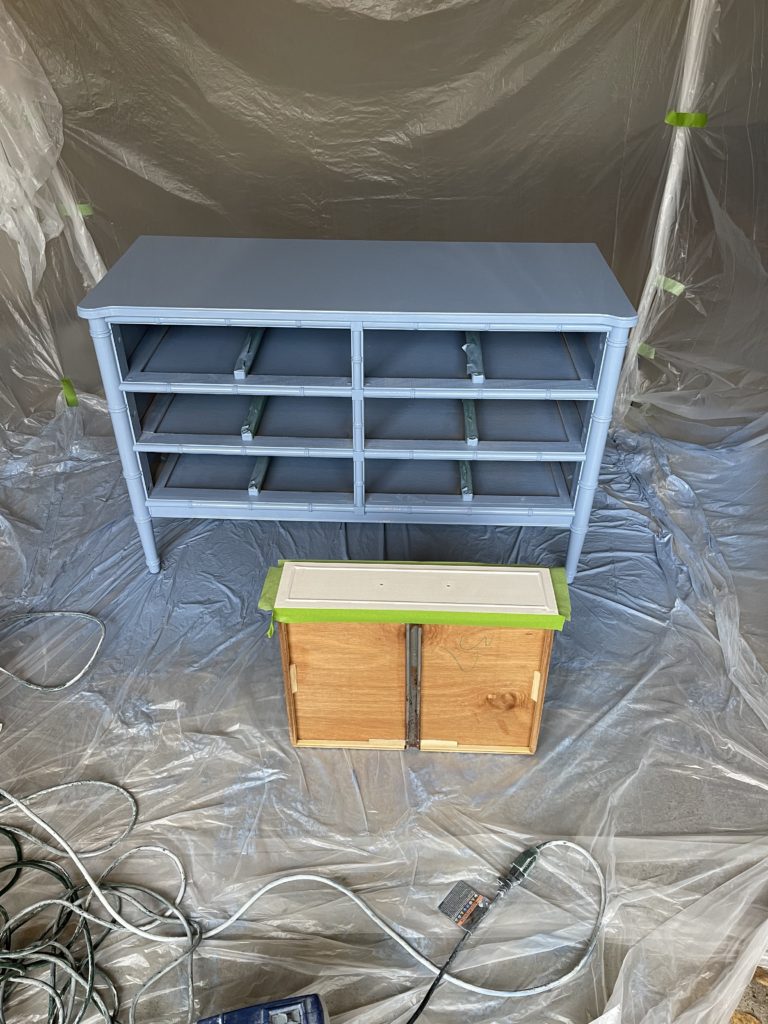
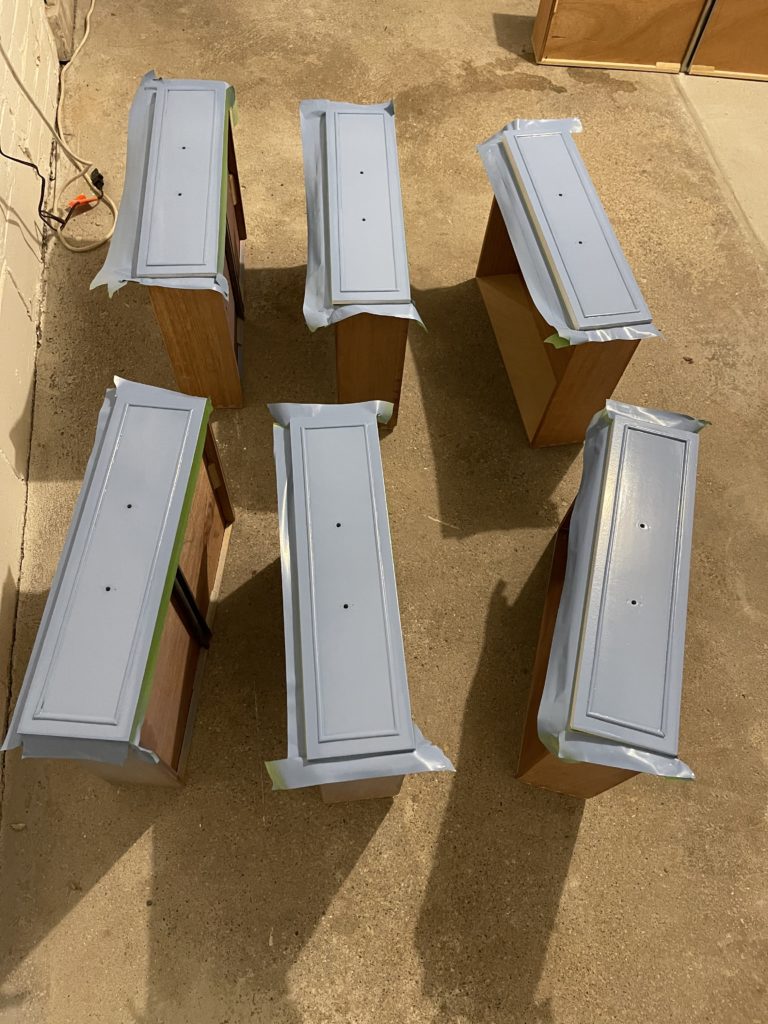
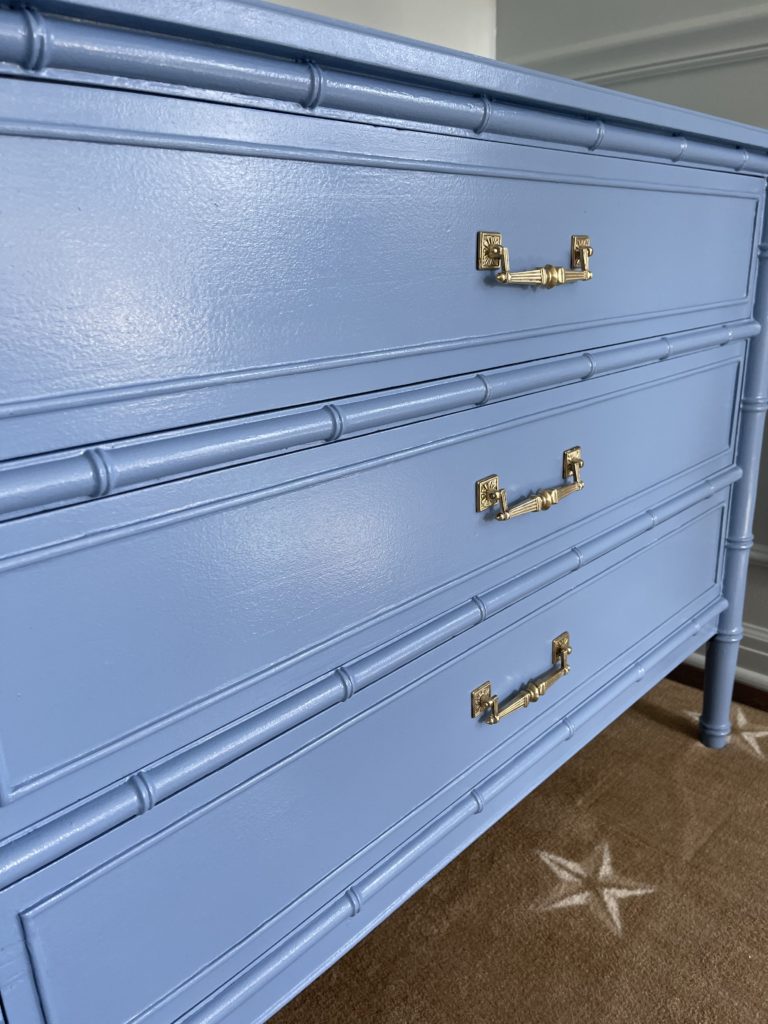
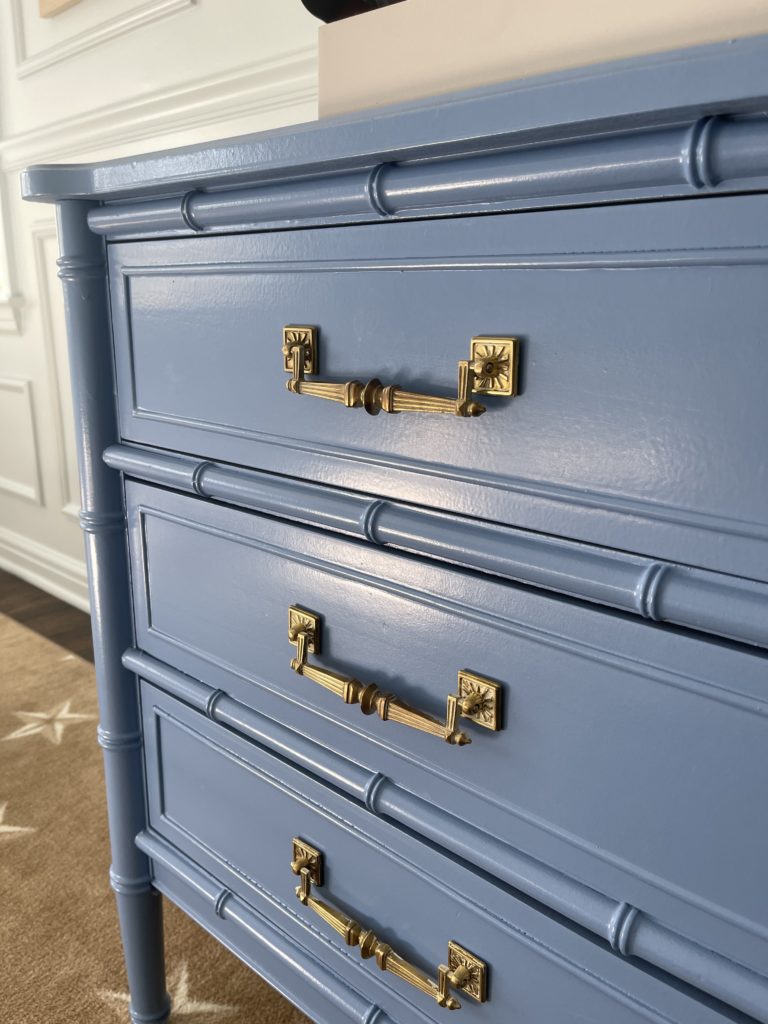
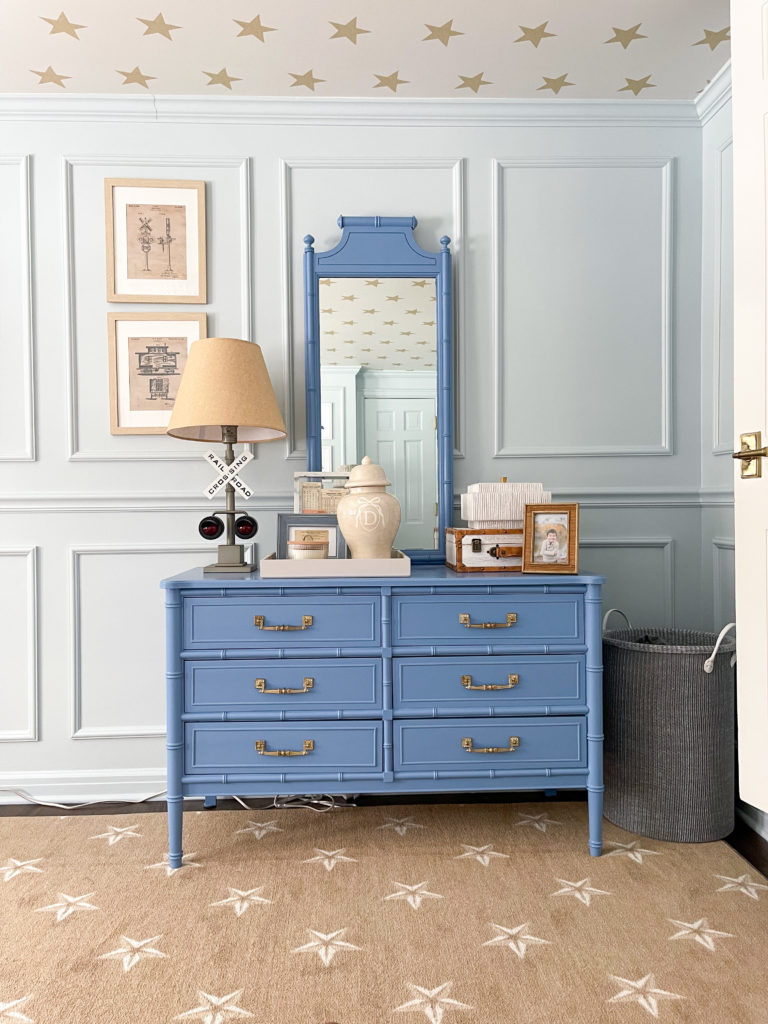
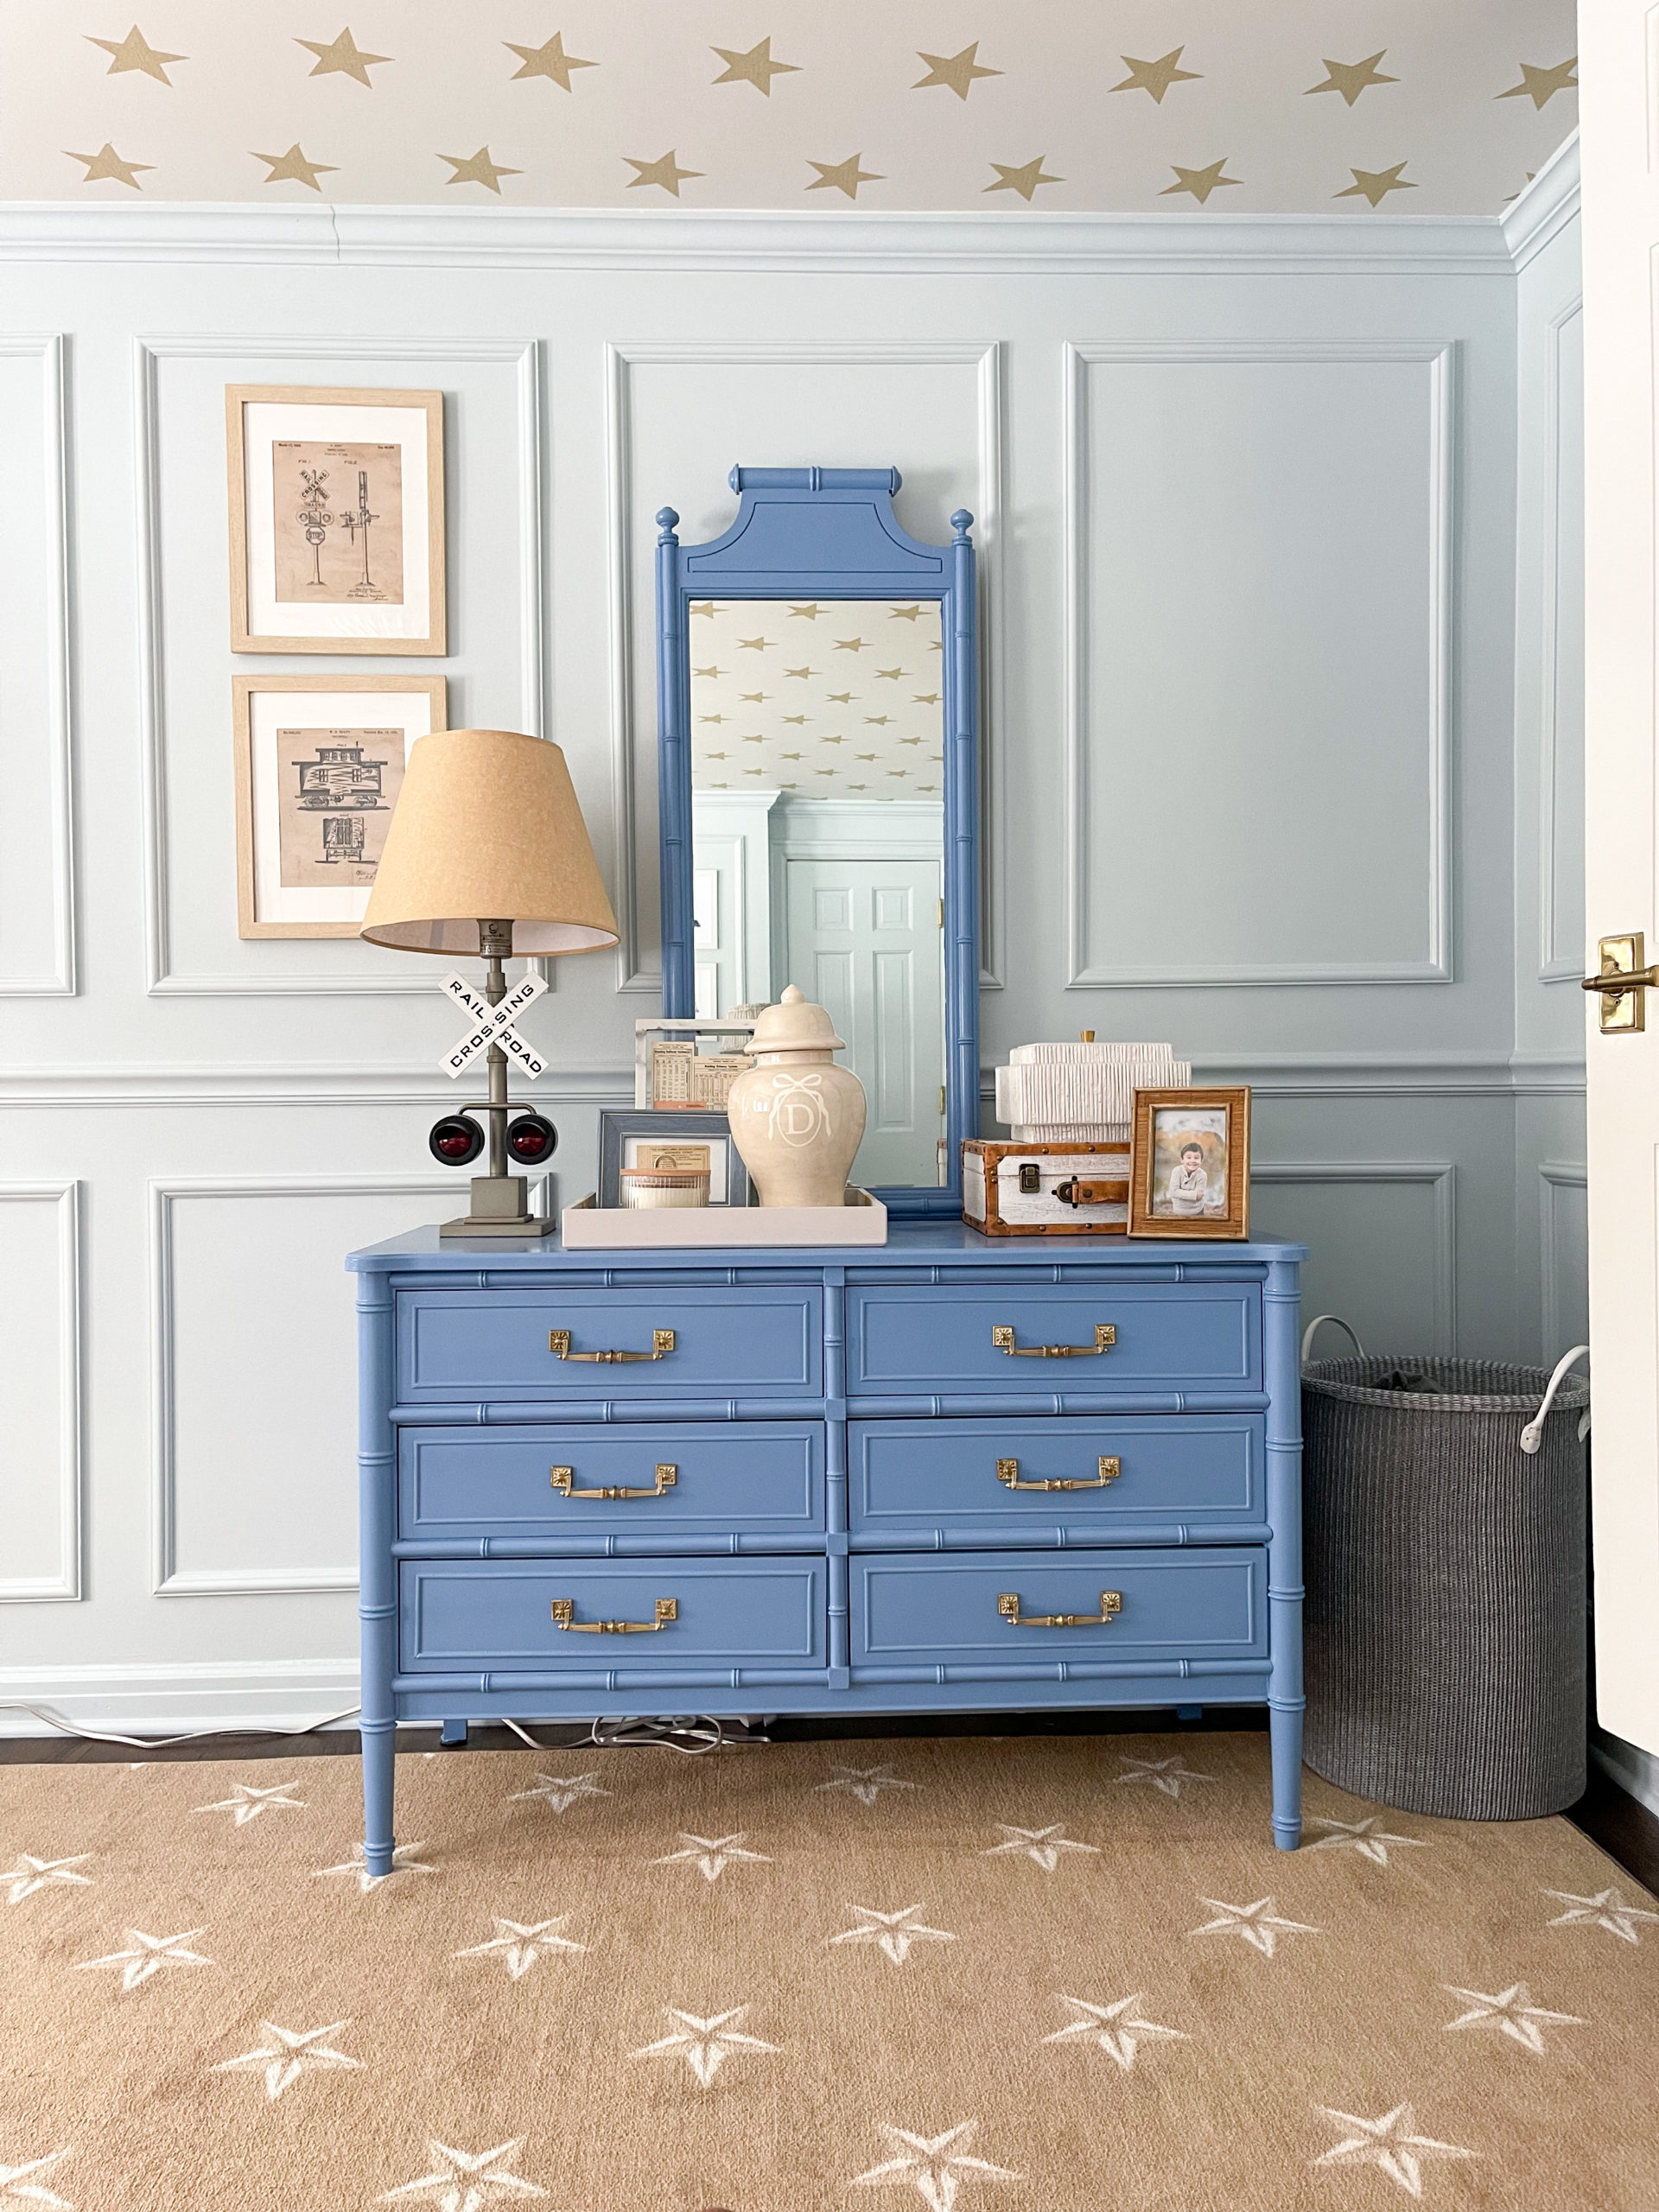
You can see the texture difference here between rolling versus spraying. They are painted the exact same color, but the lighting makes them look slightly different colors in these photos.
Here are the main tools you’ll need:
-tack cloth
-3/8 nap roller
Congrats on the blog!!! Love seeing the difference between a rolled versus sprayed piece of furniture. Thanks for the tips!
Thank you friend!! This was a fun project!
Excited about this for you! And great post!
Thank you!! This was fun to see how they turned out rolling and spraying!
So beautiful! And perfect for this room.
Thank you so much! It turned out cute!
Thanks! Look forward to future posts!
Congrats on the blog!! Great first post. That Blue Dragon color is beautiful!
Thank you! I have never seen it used before! The cutest color!
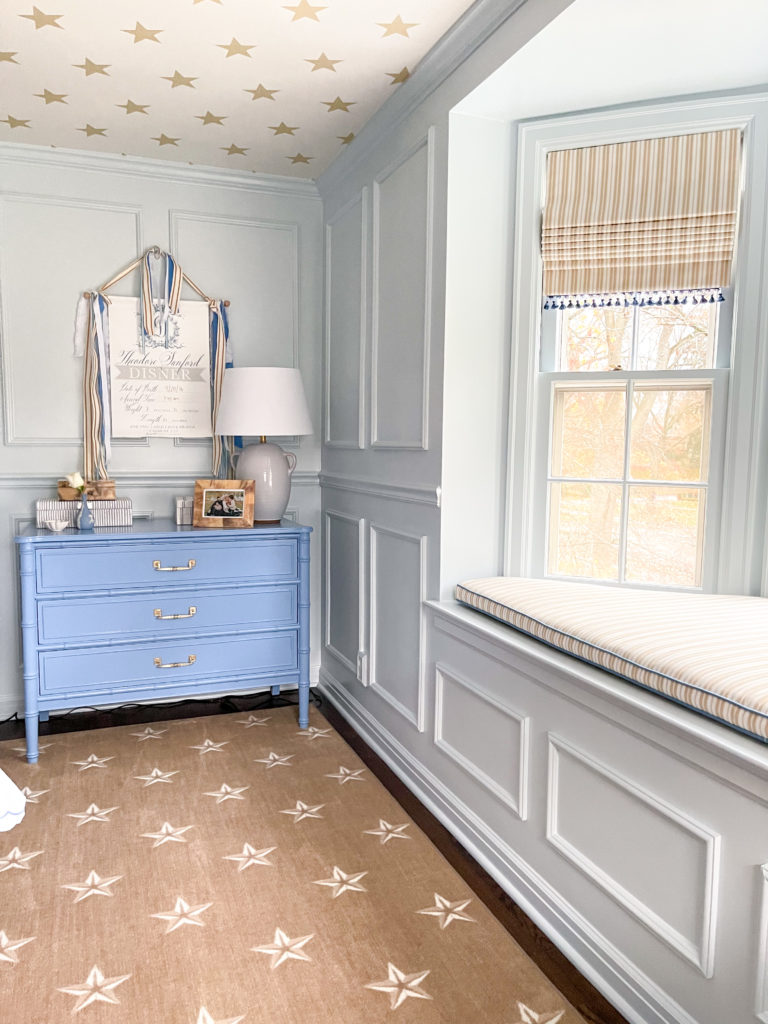
I love this color! It’s the perfect blue for a little boy’s room! 💙
Thank you!! He wanted dark blue and light blue in his room. It turned out so cute!